- Joined
- Aug 16, 2005
- Messages
- 1,332
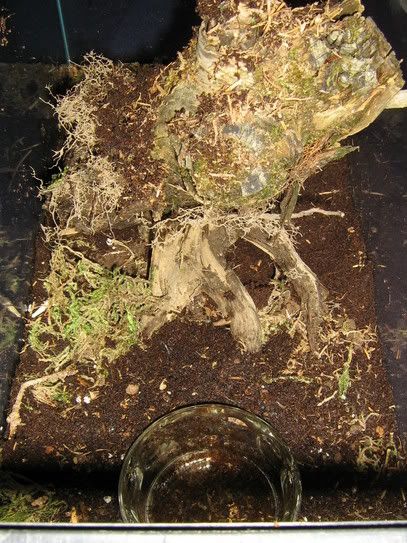
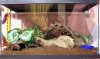
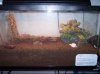
thats all of mine but one which won't fit on the table..maybe if i did some careful measuring..but i'm not even gonna bother. the other one is an a avic in a 12"x12"x18"
Last edited: