- Joined
- Jul 28, 2007
- Messages
- 1,135
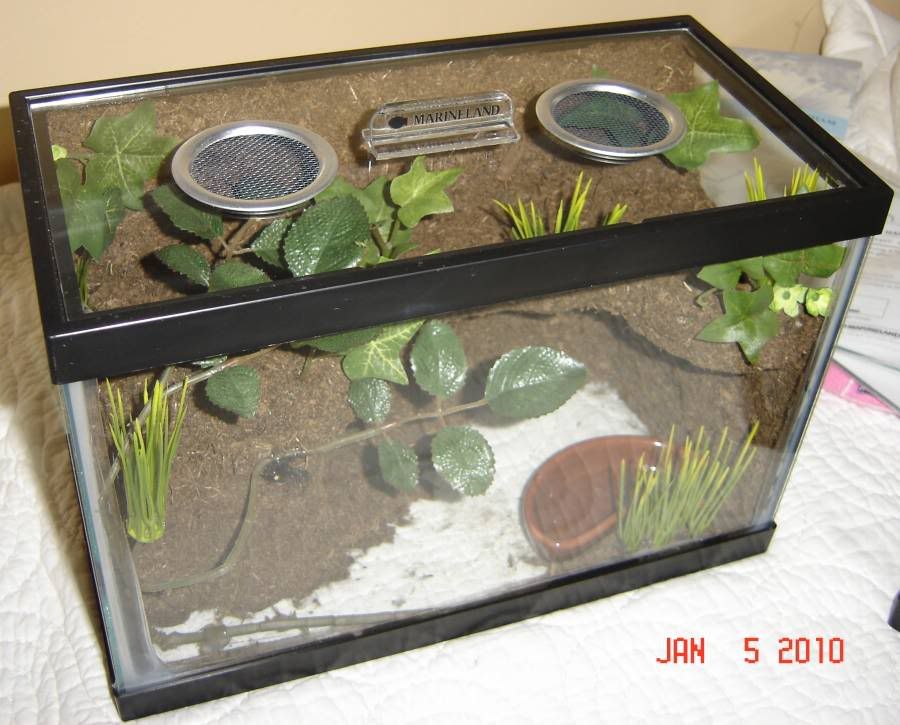
I finished this one a bit ago and forgot to post it up. This is another one of my 2.5 gallon series that I have started to construct.
This one features two floors and a cave along with ample floor space. Since I have not placed substrate yet, the front is supposed to have a mound of dirt leading up to the second floor on the side of the cave towards the front. The design was planned before putting the artificial plants and so plants are glued kinda like in the air. When substrate is applied, it will cover all this.
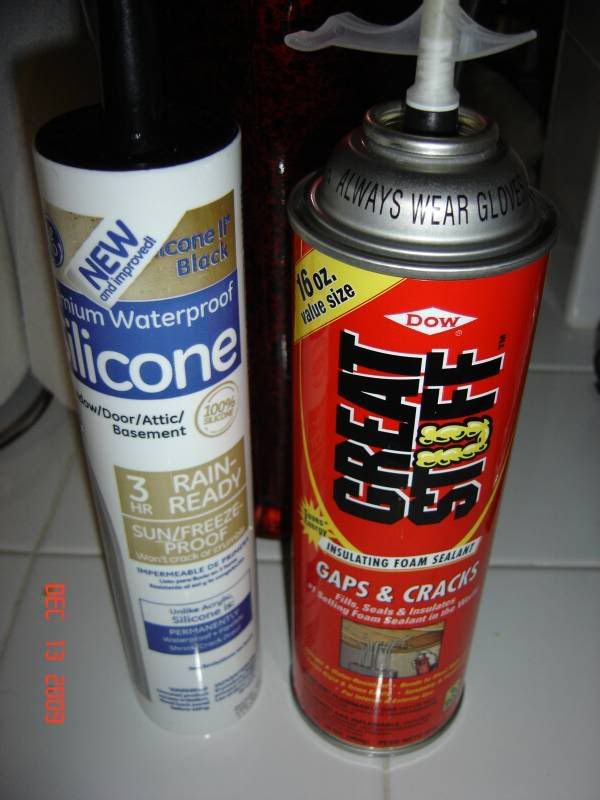
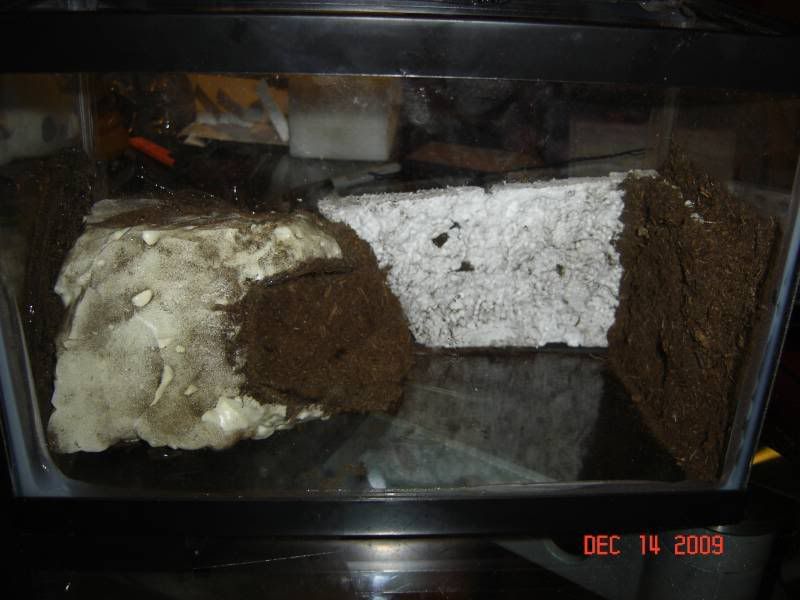
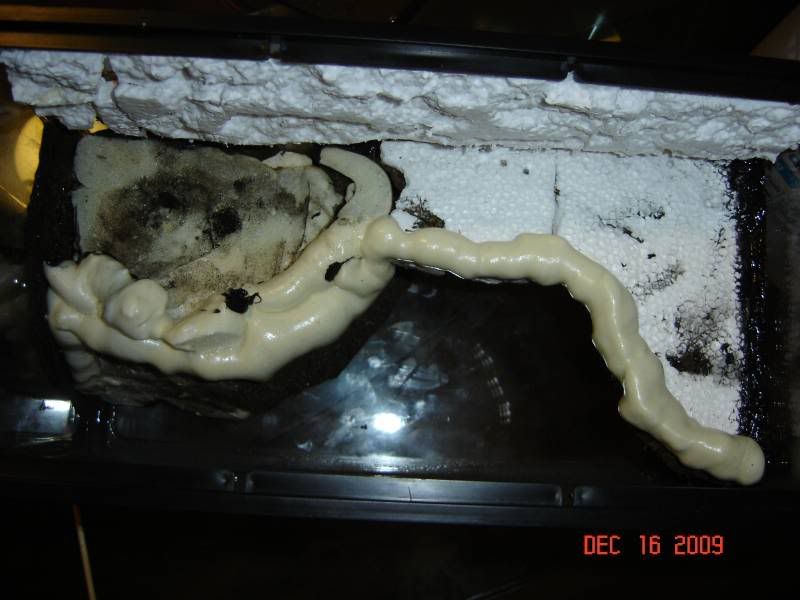
For this one I used a slightly different approach. I started with a mound of Foam in which I let expand and dry. I did it in two steps to ensure that it dries all the way through. I did poke holes into it during the curing process (24hrs) to ensure the center had air to dry
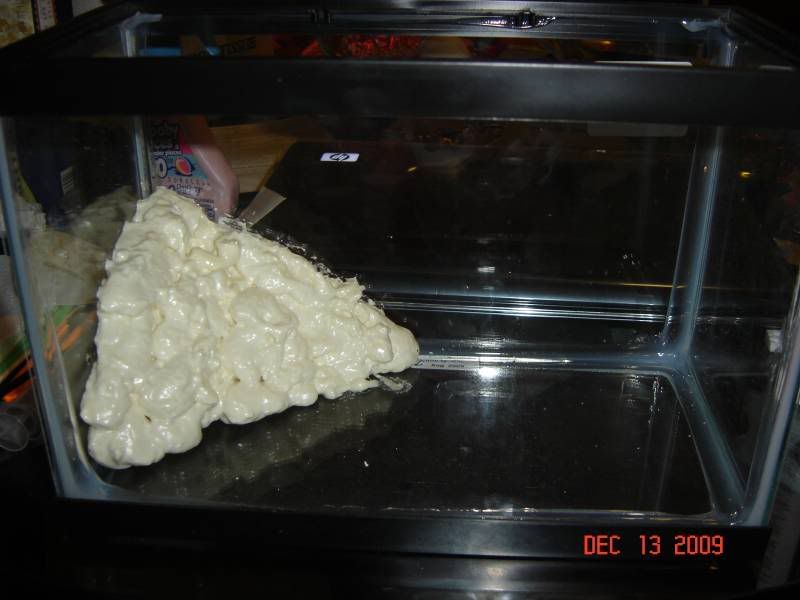
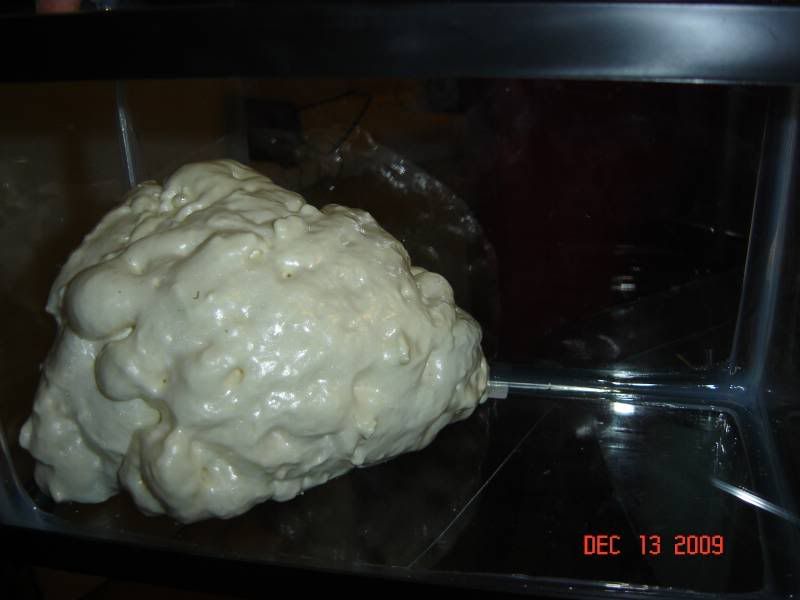
Than I removed the mound after it was dry and shaped it to my desired design for the cave. Than while out of the enclosure I prepped it with the silicone and substrate all on the inside. Doing it outside the enclosure made it easier because the enclosure is so small and there is no way to get to all of the insdie of the cave. I replaced it with silicone glued to the glass walls.
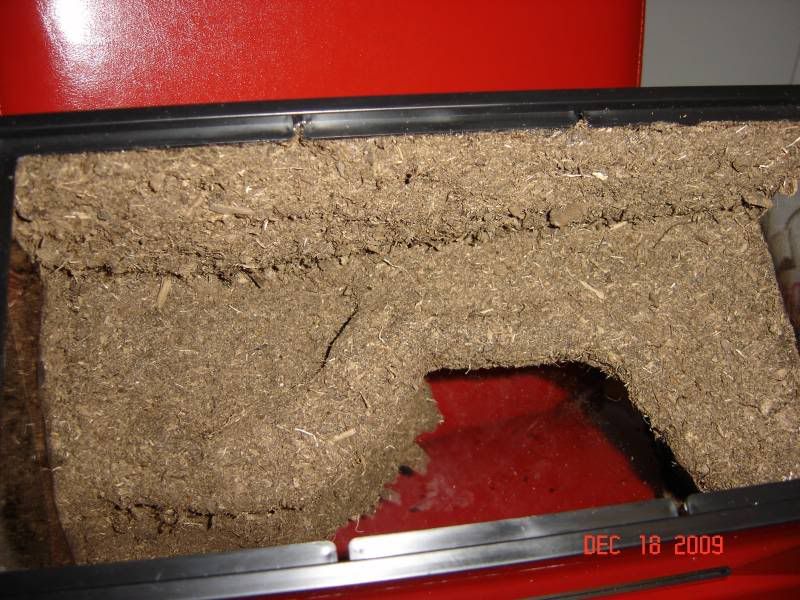
I added the walls which will support the second floor. This was done similar to #7 enclosure, with 1/2" styrofoam sheets contoured with my finger nails. Prepped to make more natural looking.
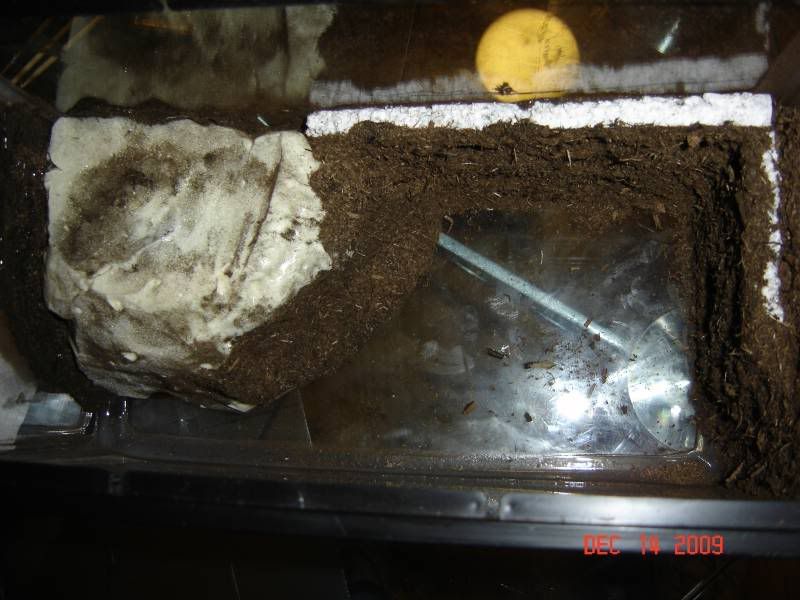
Than I added the second floor. It was designed to provide shade and cover at the same time allow me some liberty to access the first floor for maintenance. (boluses and water dish) For added strength of the floor i inserted bamboo skewers through the styrofoam. This attached the various pieces i used to construct the floor design and also to add stability from flex.

I then added the final backdrop layer to complete the back wall. similarly done as the other walls. I also added a ledge layer across the entire upper floor. This is so that I can add a good amount of substate to the top floor. I wanted it to be "soft" and deep rather than stiff from just silicone and substrate dried to it.
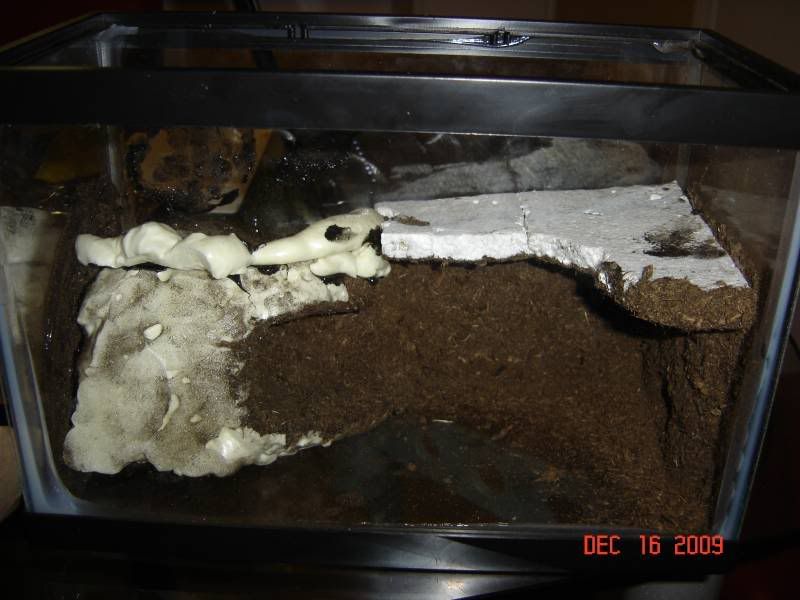
I covered it with silicone and added substrate on top. This blended it all together. (Hard to see it clearly in this shot)
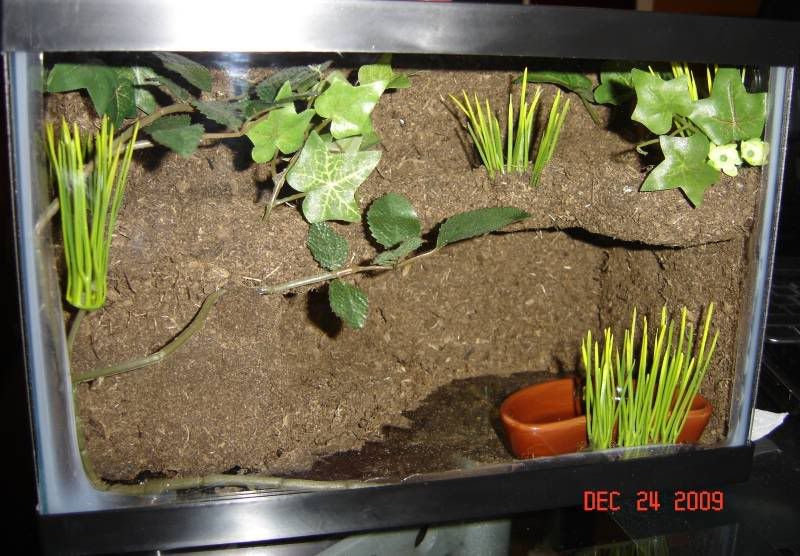
Than added my plant life. (artificial)
Front view
Cave view
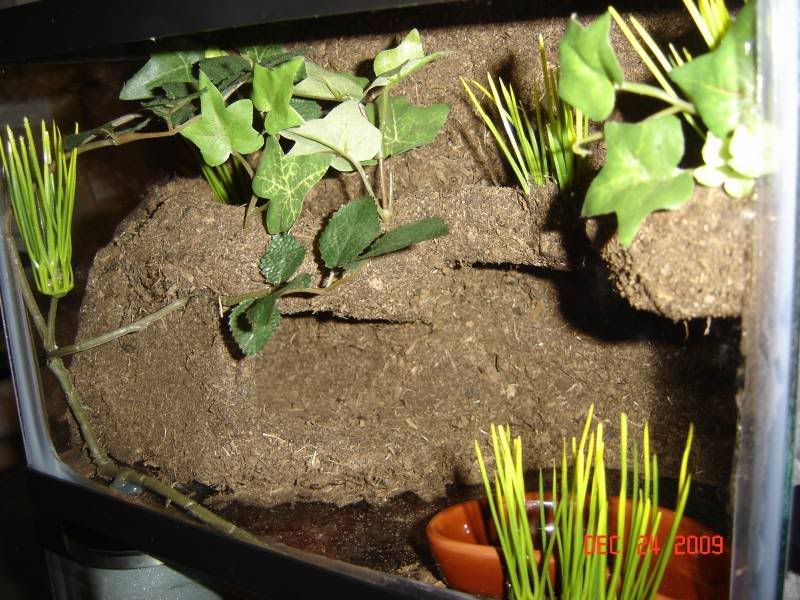
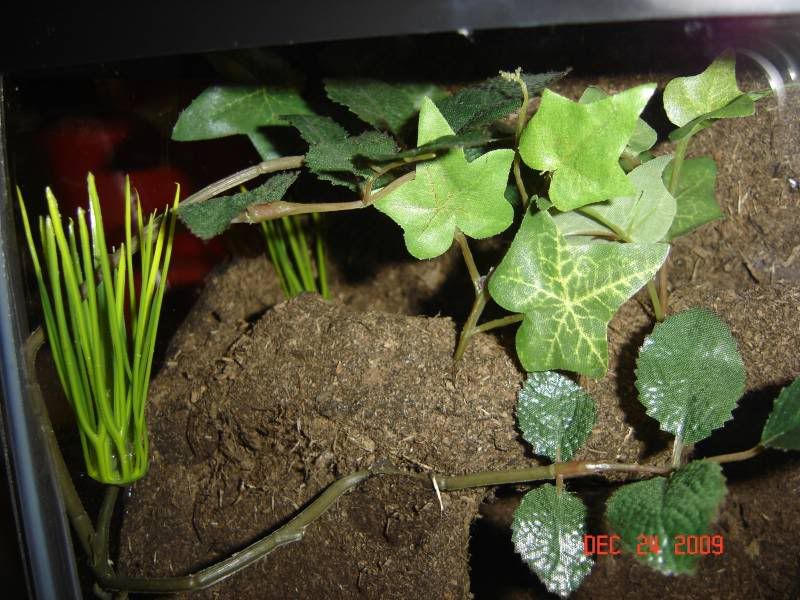
Ledge/loft view. kinda hard to see but similar to #7. Plants make a cover to make it feel safe. You can also see the grass suspended. Substrate will come over the grass up to this ledge/loft area. This is the transistion point.
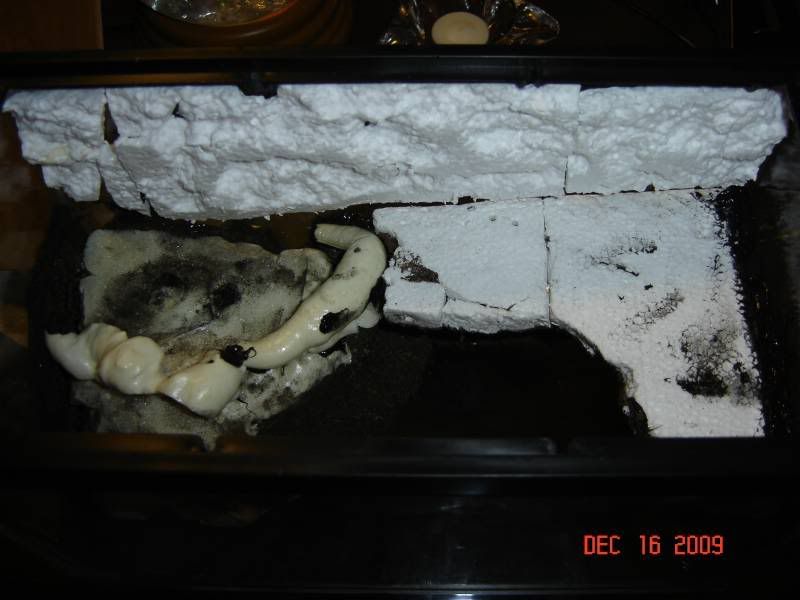
Top view

Now to figure out which tarantula i want to add to these enclosures. Another enclosure is in the works.
This one features two floors and a cave along with ample floor space. Since I have not placed substrate yet, the front is supposed to have a mound of dirt leading up to the second floor on the side of the cave towards the front. The design was planned before putting the artificial plants and so plants are glued kinda like in the air. When substrate is applied, it will cover all this.
For this one I used a slightly different approach. I started with a mound of Foam in which I let expand and dry. I did it in two steps to ensure that it dries all the way through. I did poke holes into it during the curing process (24hrs) to ensure the center had air to dry
Than I removed the mound after it was dry and shaped it to my desired design for the cave. Than while out of the enclosure I prepped it with the silicone and substrate all on the inside. Doing it outside the enclosure made it easier because the enclosure is so small and there is no way to get to all of the insdie of the cave. I replaced it with silicone glued to the glass walls.
I added the walls which will support the second floor. This was done similar to #7 enclosure, with 1/2" styrofoam sheets contoured with my finger nails. Prepped to make more natural looking.
Than I added the second floor. It was designed to provide shade and cover at the same time allow me some liberty to access the first floor for maintenance. (boluses and water dish) For added strength of the floor i inserted bamboo skewers through the styrofoam. This attached the various pieces i used to construct the floor design and also to add stability from flex.
I then added the final backdrop layer to complete the back wall. similarly done as the other walls. I also added a ledge layer across the entire upper floor. This is so that I can add a good amount of substate to the top floor. I wanted it to be "soft" and deep rather than stiff from just silicone and substrate dried to it.
I covered it with silicone and added substrate on top. This blended it all together. (Hard to see it clearly in this shot)
Than added my plant life. (artificial)
Front view
Cave view
Ledge/loft view. kinda hard to see but similar to #7. Plants make a cover to make it feel safe. You can also see the grass suspended. Substrate will come over the grass up to this ledge/loft area. This is the transistion point.
Top view
Now to figure out which tarantula i want to add to these enclosures. Another enclosure is in the works.