aphono
Arachnobaron
- Joined
- Mar 11, 2017
- Messages
- 481
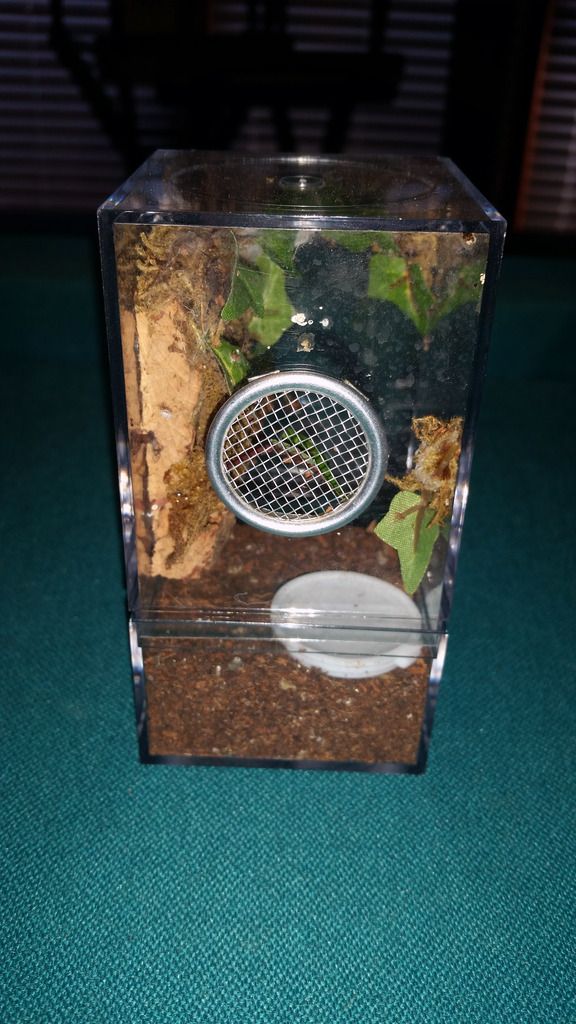
Very helpful. I am not handy so I really appreciated that, thank you. What size drill bit for the holes?To make the round hole you use a hole saw bit the size you need.
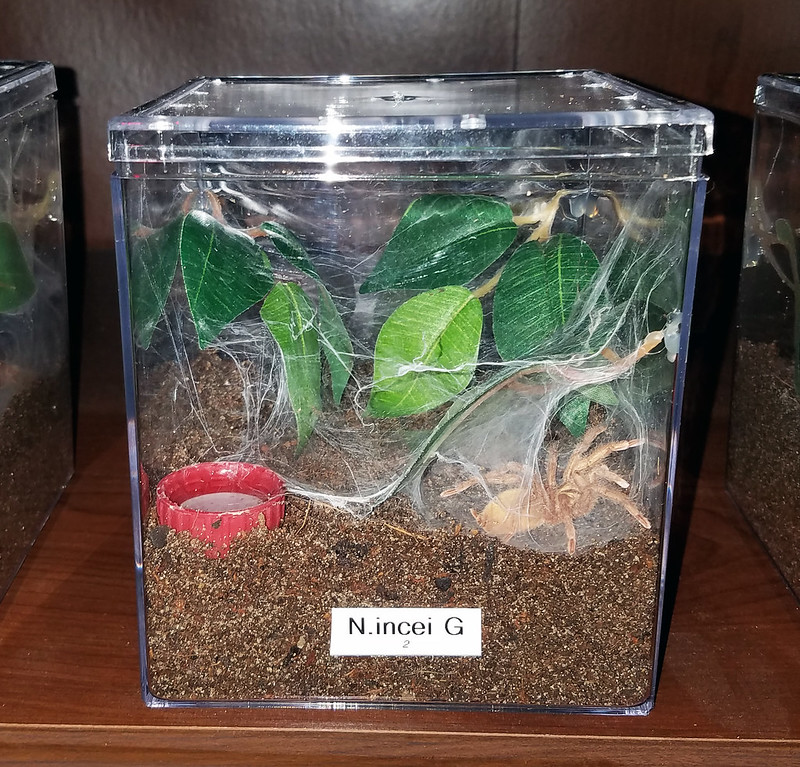
For these enclosures to get holes in a straight line I used a piece of electrical tape (painter's tape would work best) along the top edge of the enclosure. I drill a line holes on the bottom edge of the tape. Then I covered the tape with a second piece that overlapped the bottom edge by about 1/4 the width of the tape. I drilled the next set of holes in a line along the bottom of the second piece of tape. Repeat until you have as many lines as you want using the tape to keep you straight. Peel of the tape and you have a nice multi-line set of vents.
Some people measure and mark with a grease pen drill and then wipe it off. I think this is easier though. Using the tape as a straight edge you can make all kinds of patterns if you are so inclined.
")