Kruggar
Arachnobaron
- Joined
- Mar 7, 2010
- Messages
- 369
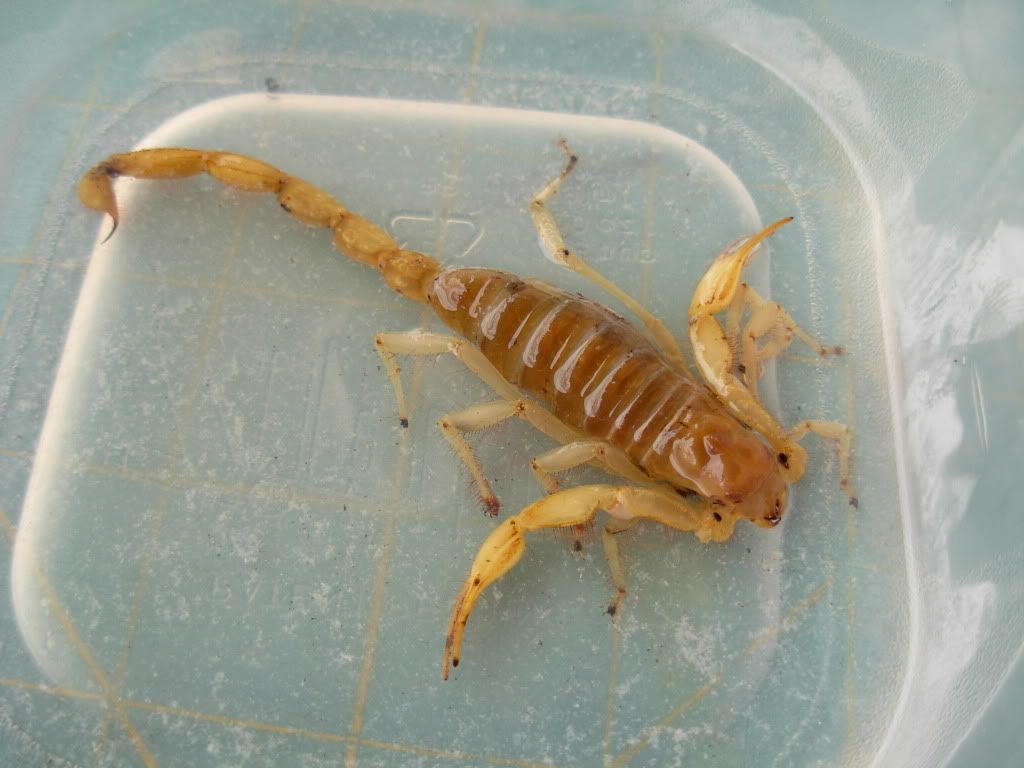
Hey everyone, my buddy gave me a dead B. Jacksoni recently. I nabbed a few pics of the pinning process and thought I'd share the how-to.
First off you will need:
-a block of styrofoam (at least 1 in thick)
-lots of pins (varied length helps)
-cotton ball
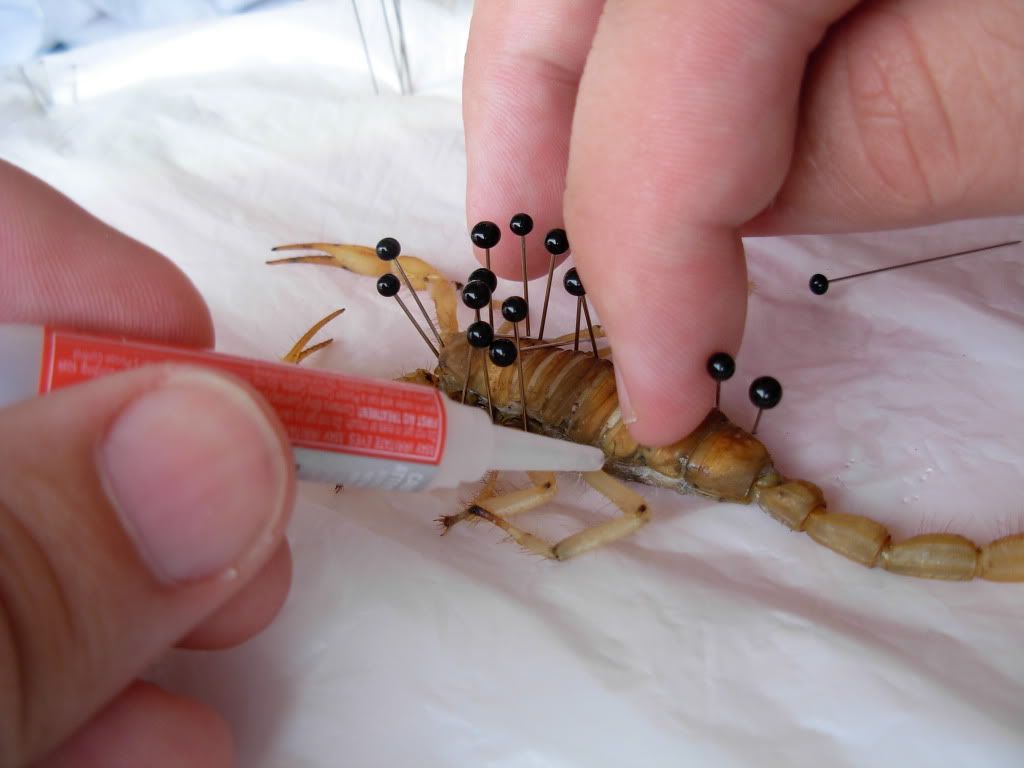
-crazy glue
-a small scalpel or nail sizzors
-tweezers
-lots of cotton-swabs
-paper towel/rags
-acetone ( in a shallow container)
-patience...
PREP:
First off I pin a plastic bag to the styrofoam to stop it from getting dirty. I have all my tools handy, esp the PT or rags.
Removing the innards:
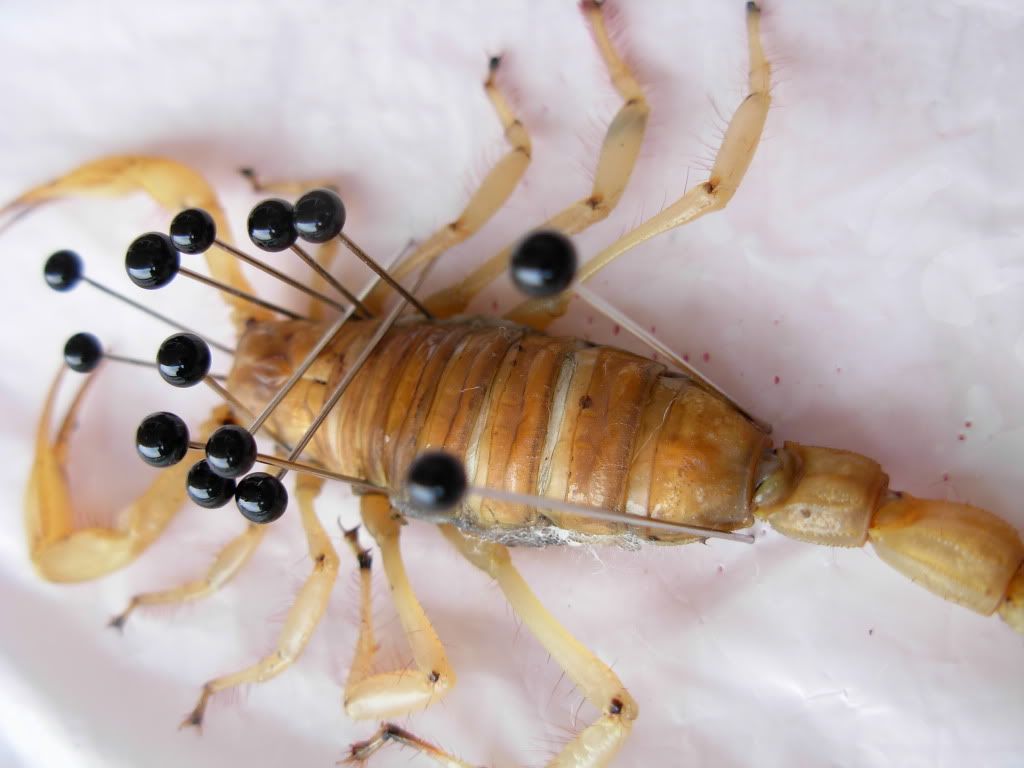
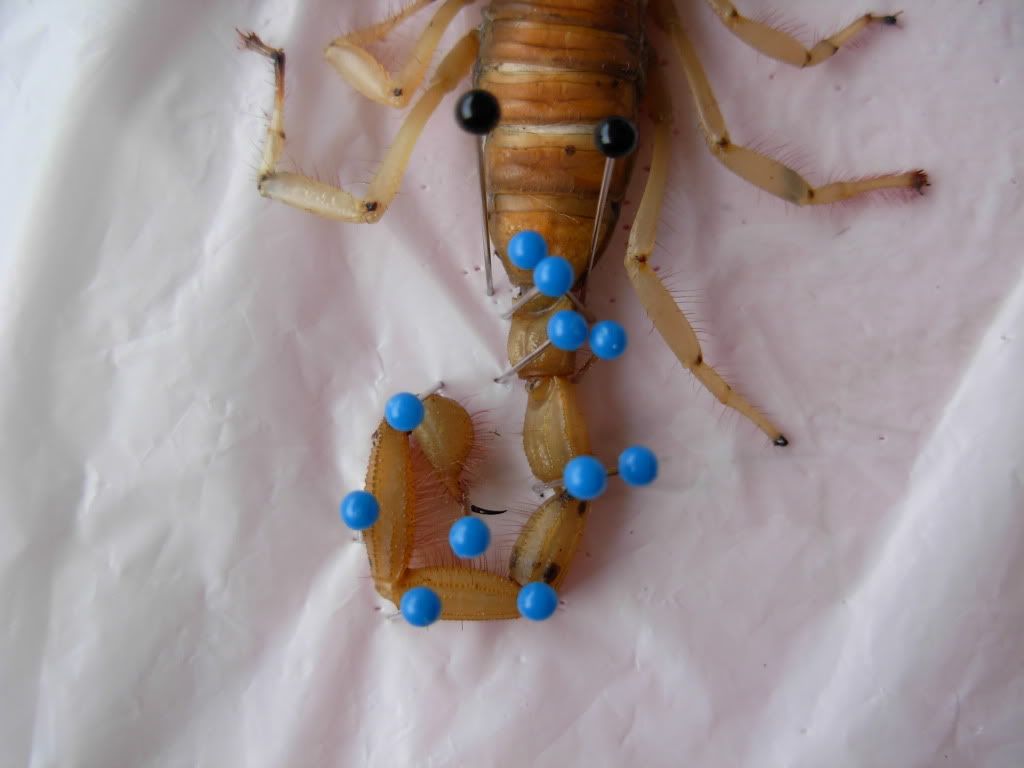
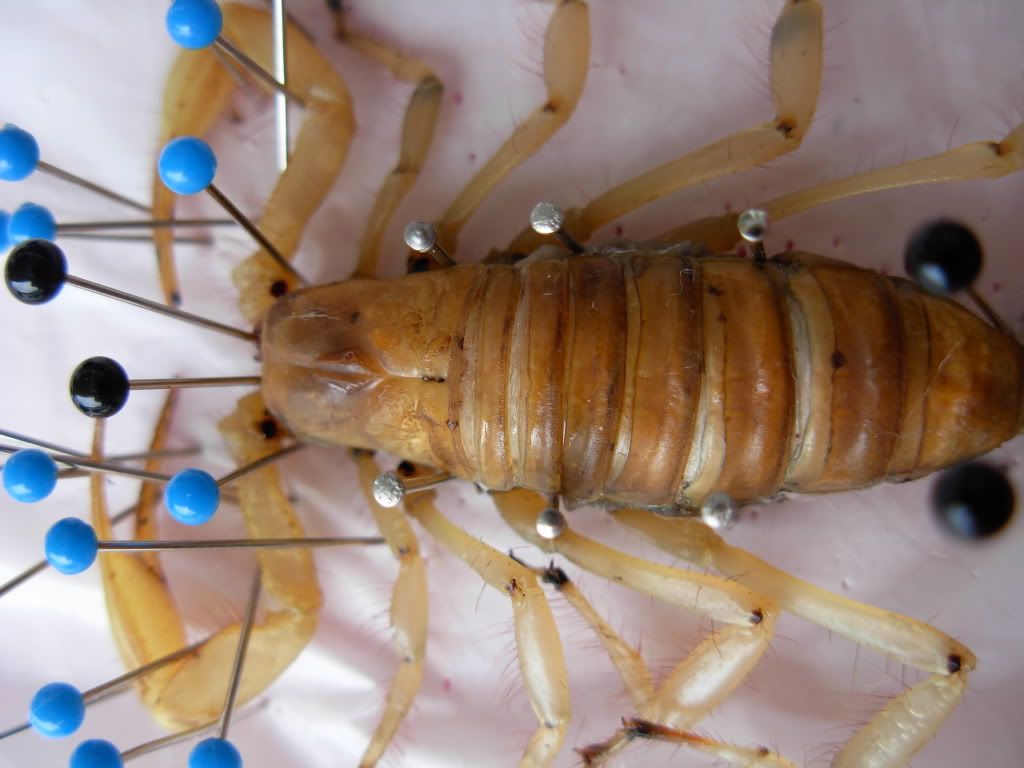
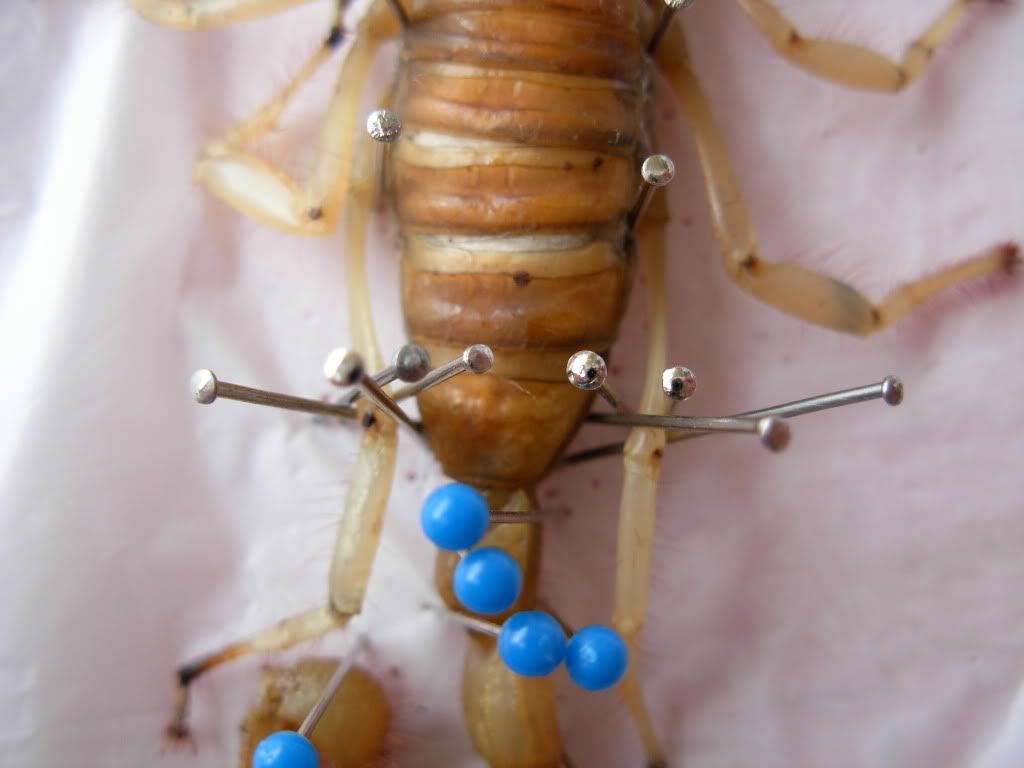
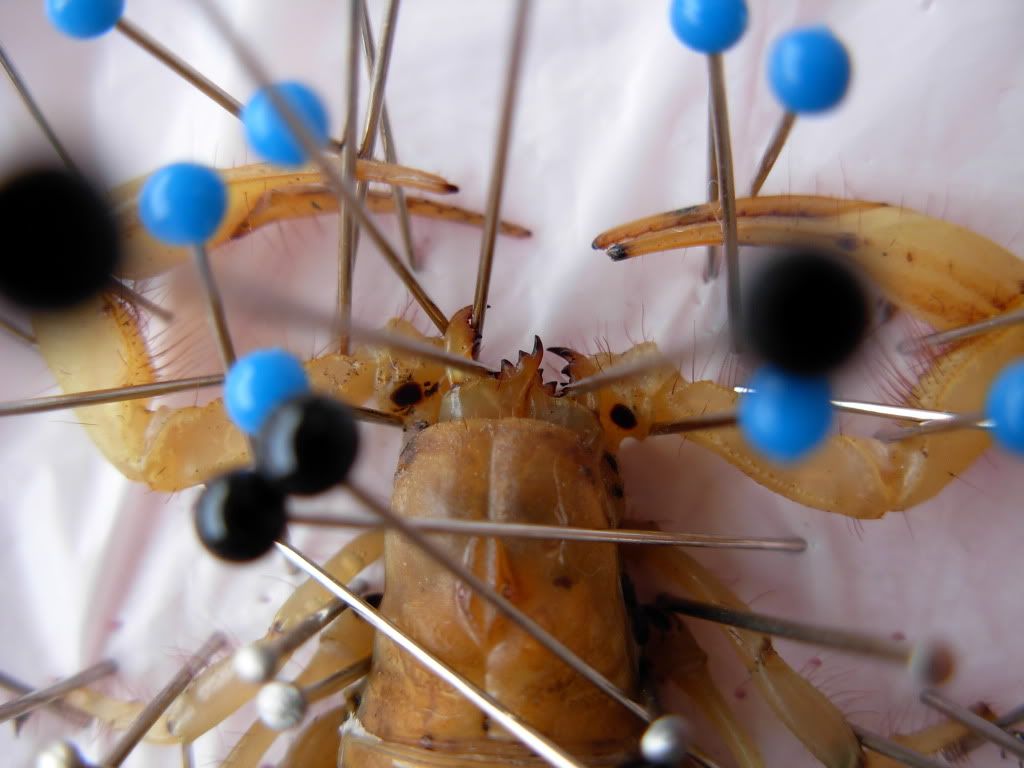
1. lay the soft/thawed scorp on the foam and use several pins to hold it firmly in place (don't pin through but place a pin on either side of it.
2. I wont show any pics of the next step, but you use a knife to slice open the side.
3. Using tweezers and cotton swabs scoop it all out, Right up into the head. You want to make the inside as clean as possible. I wipe everything off on a PT and rags at this stage.
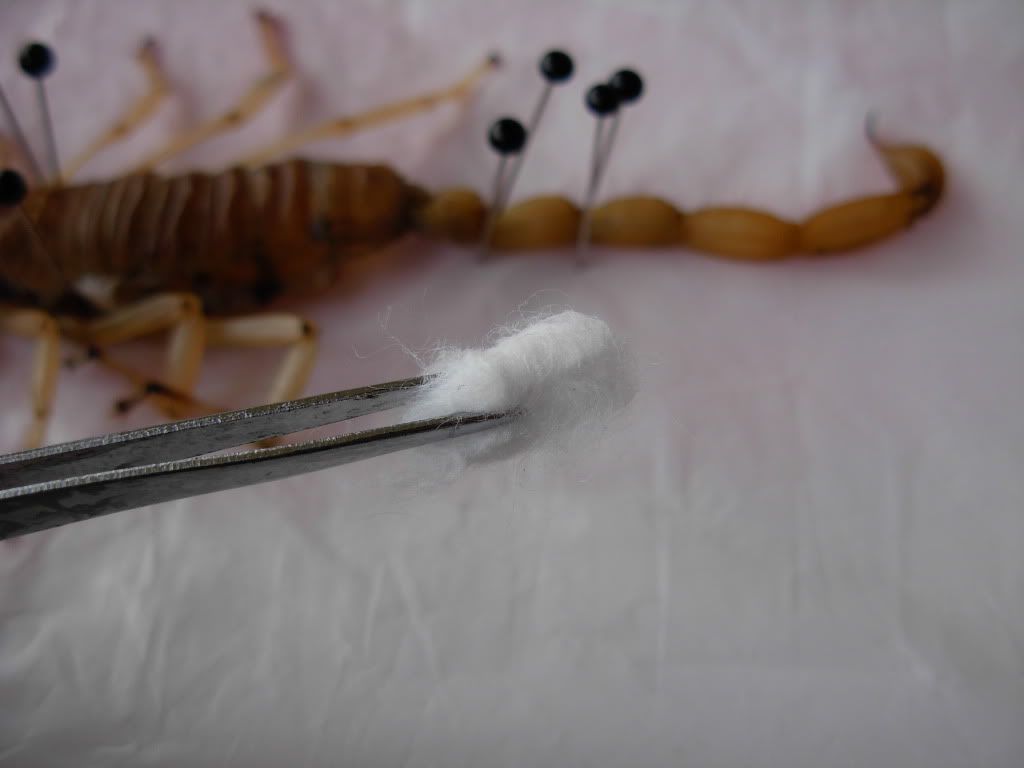
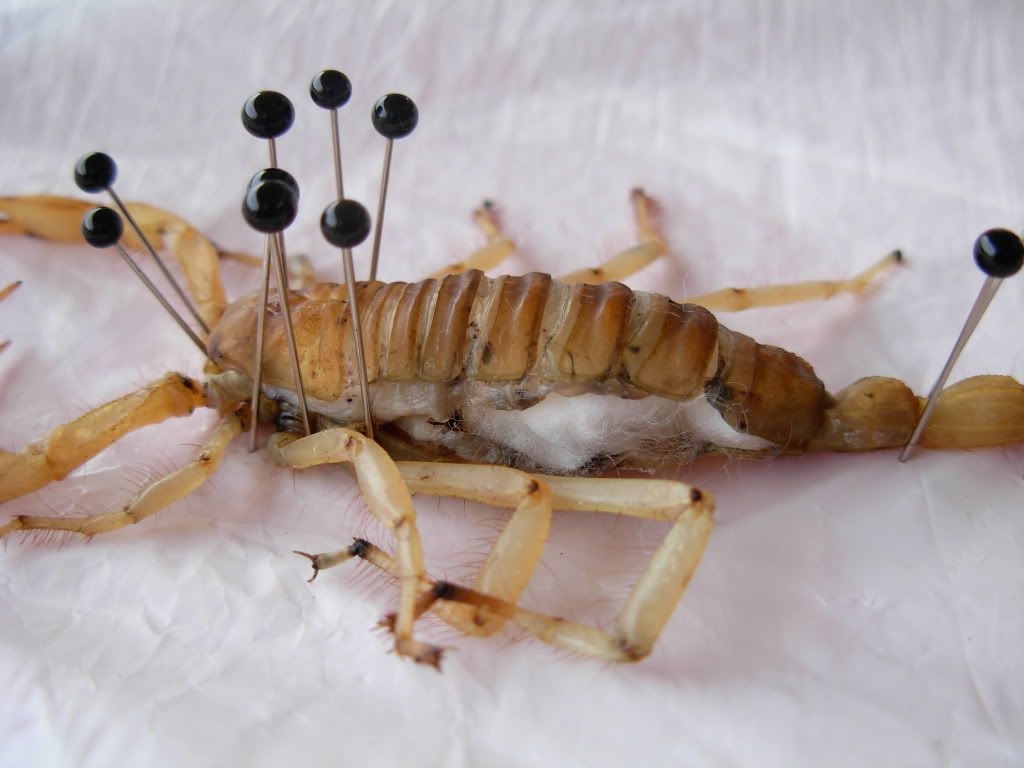
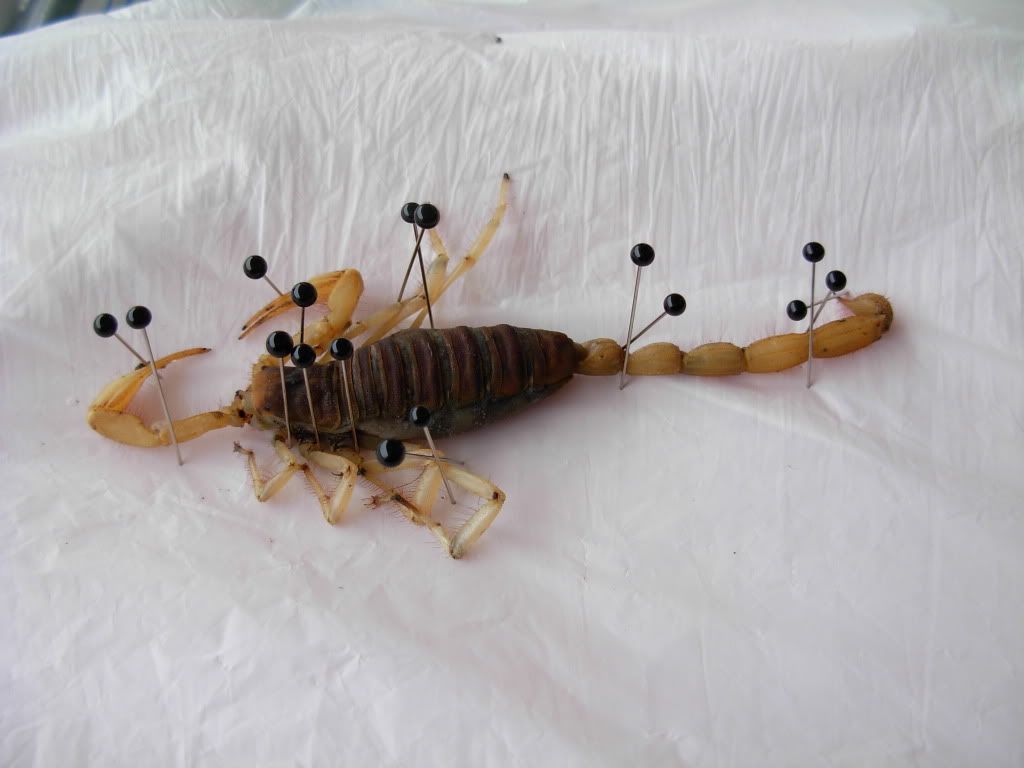
Here's the gutted scorp:
4. Put your acetone into container now, or it will evaporate. Add the scorp and soak it thoroughly.
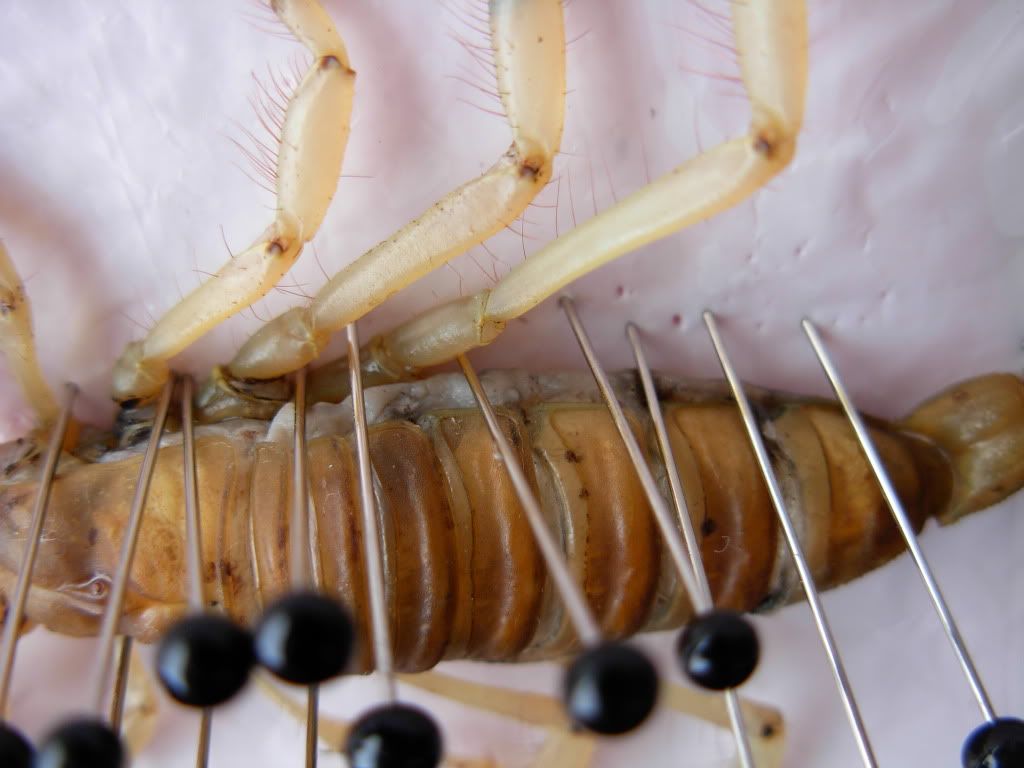
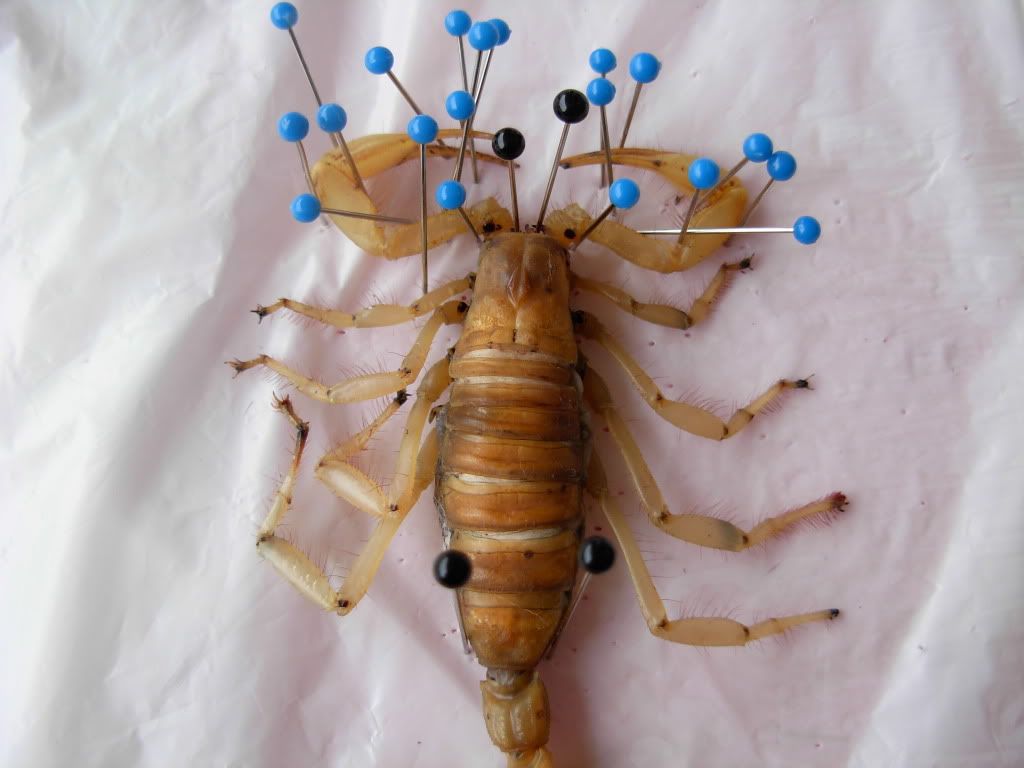
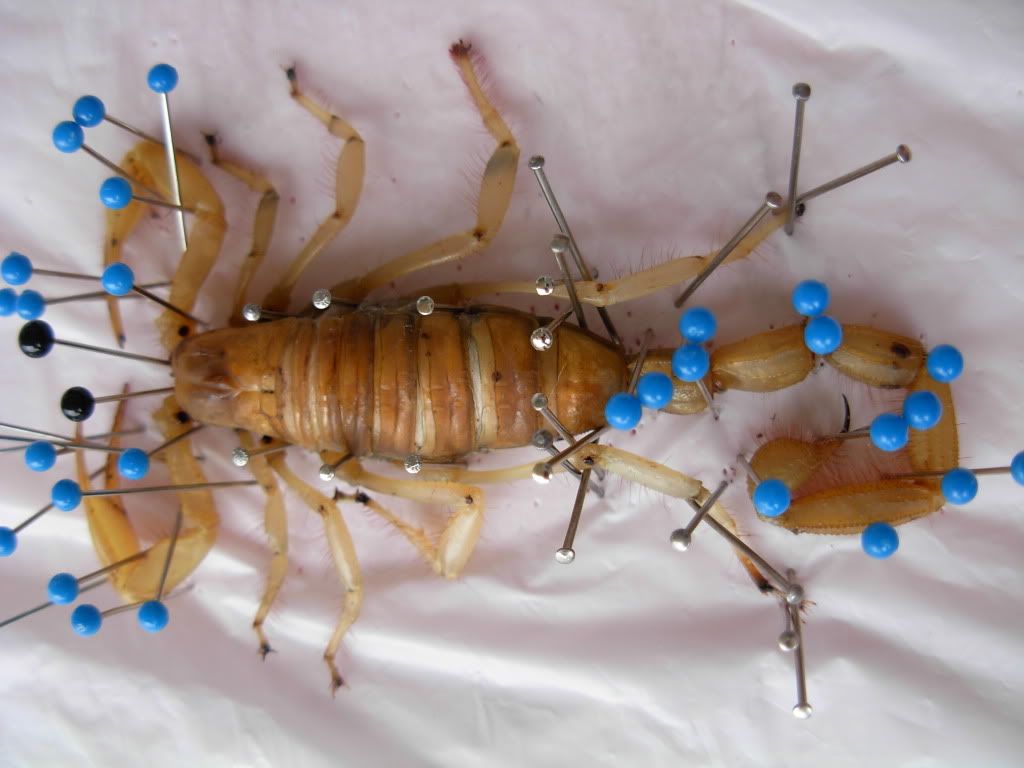
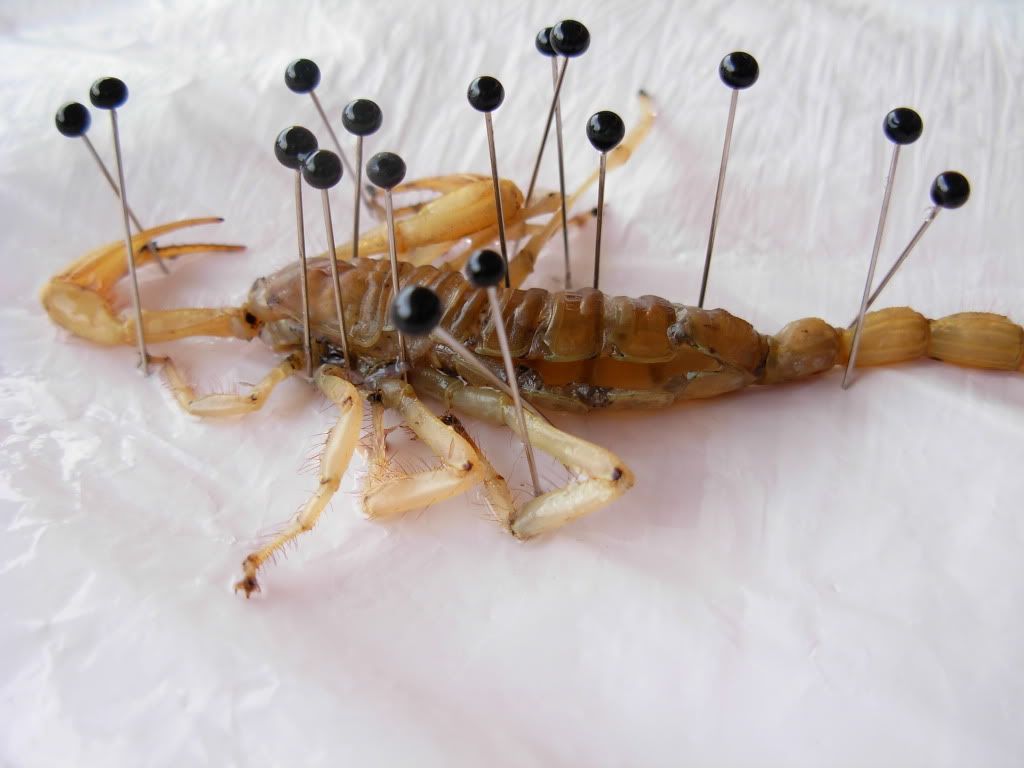
5.Shake out all the acetone from inside the scorp and place back onto the pinning foam.
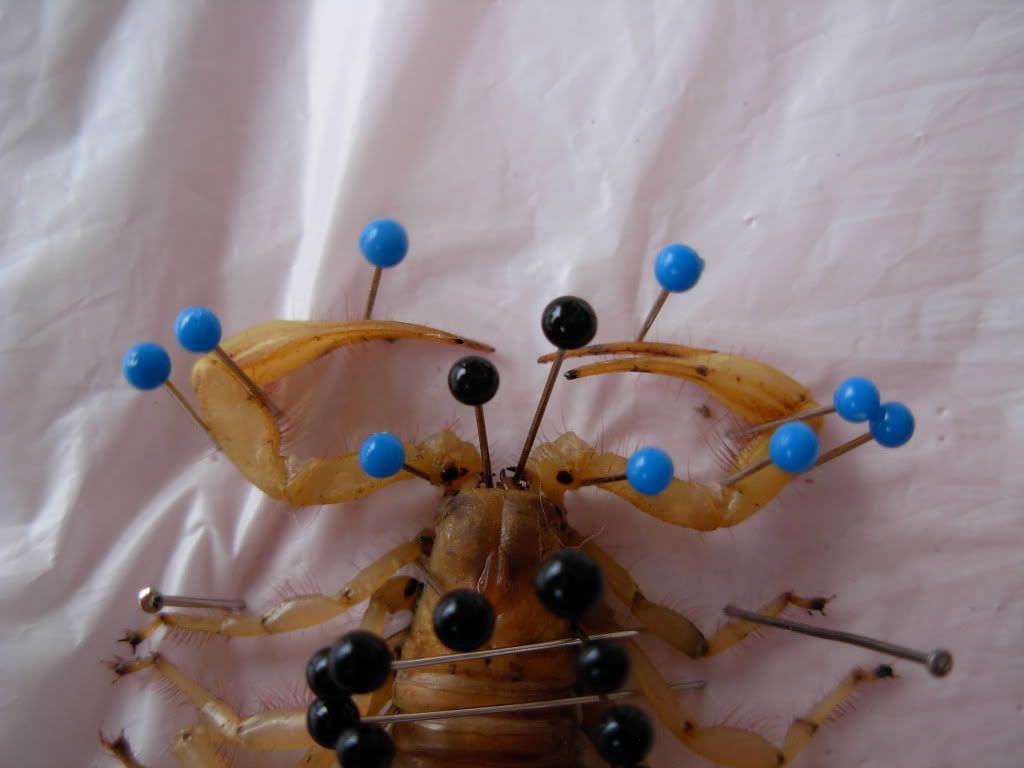
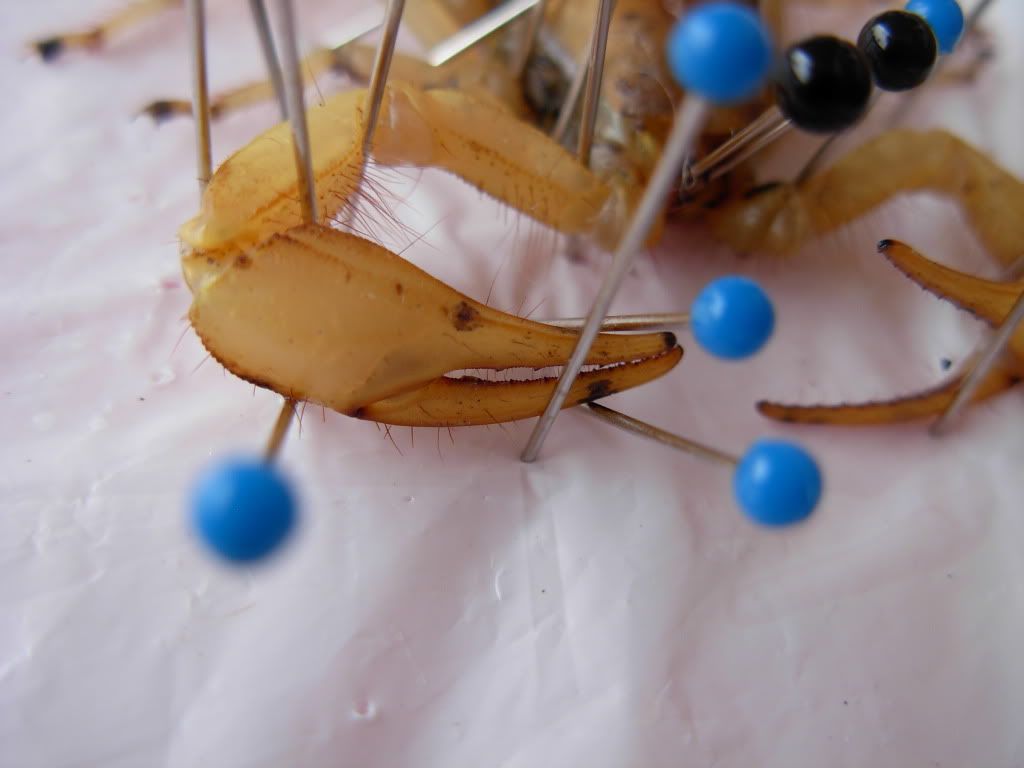
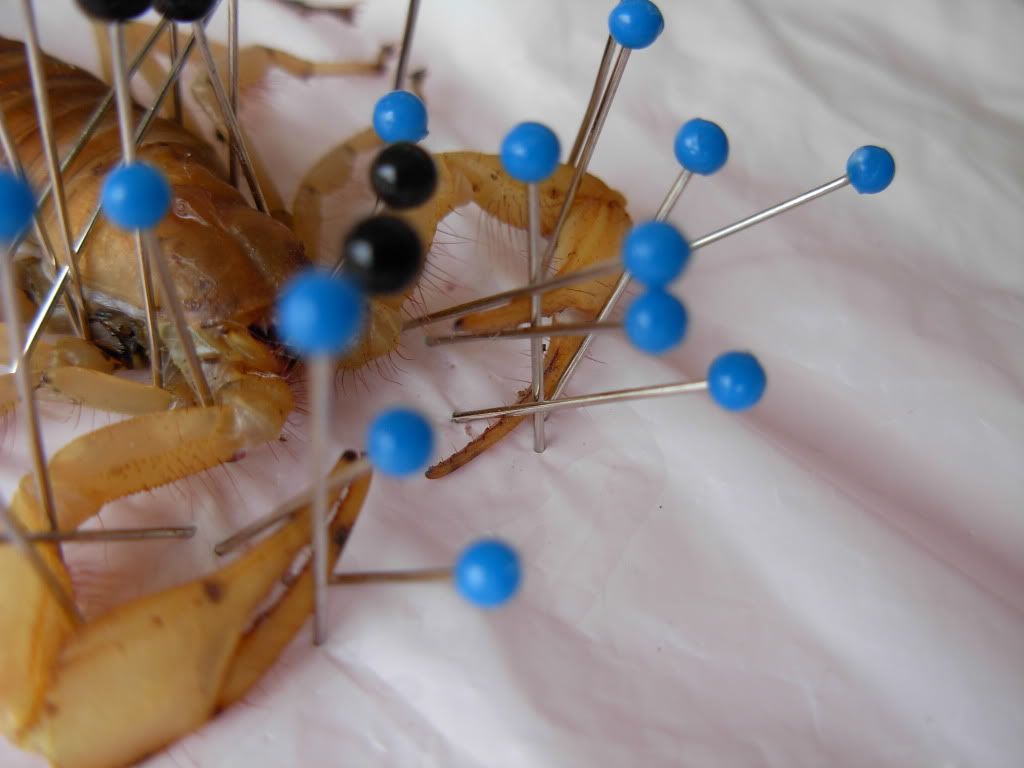
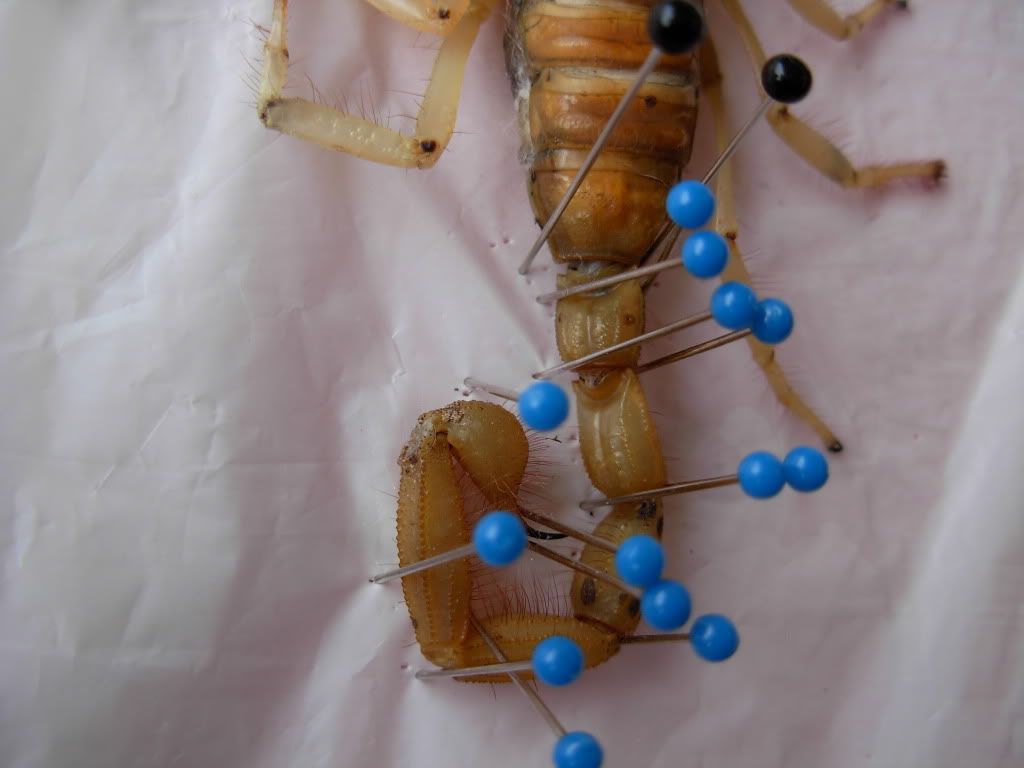
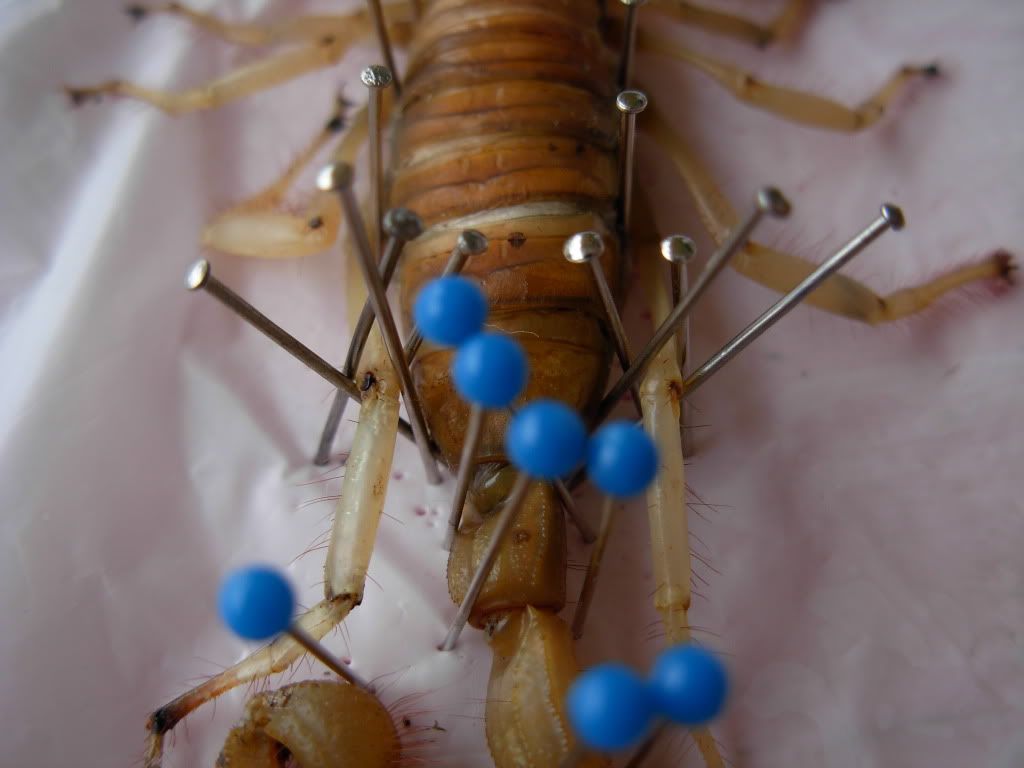
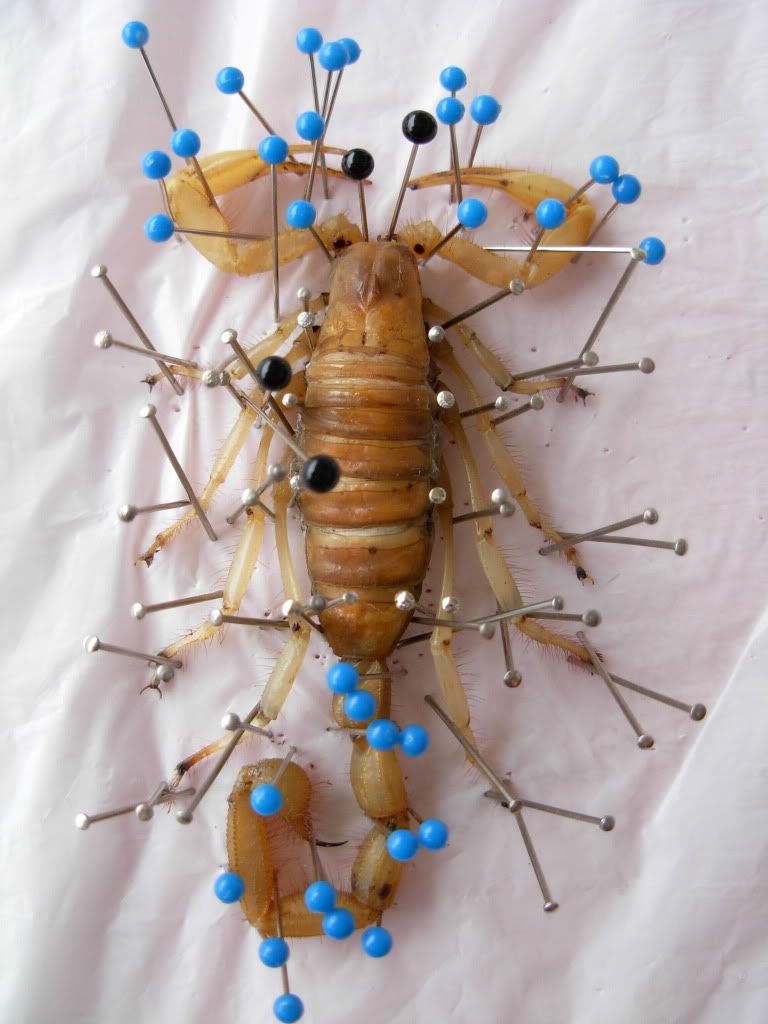
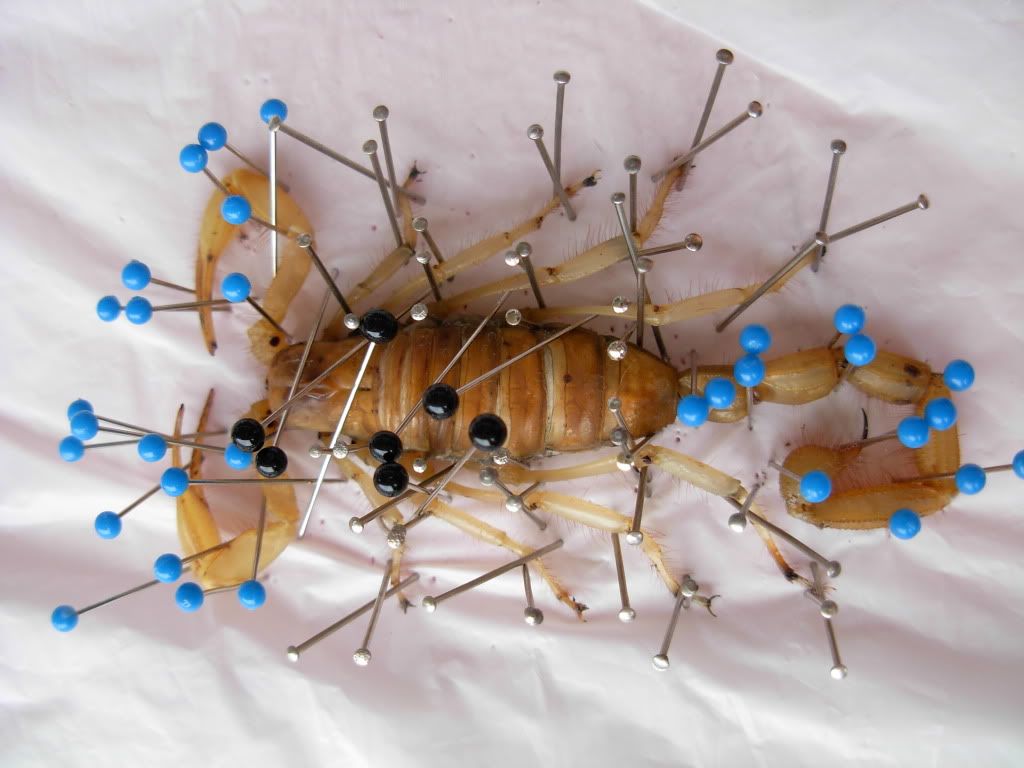
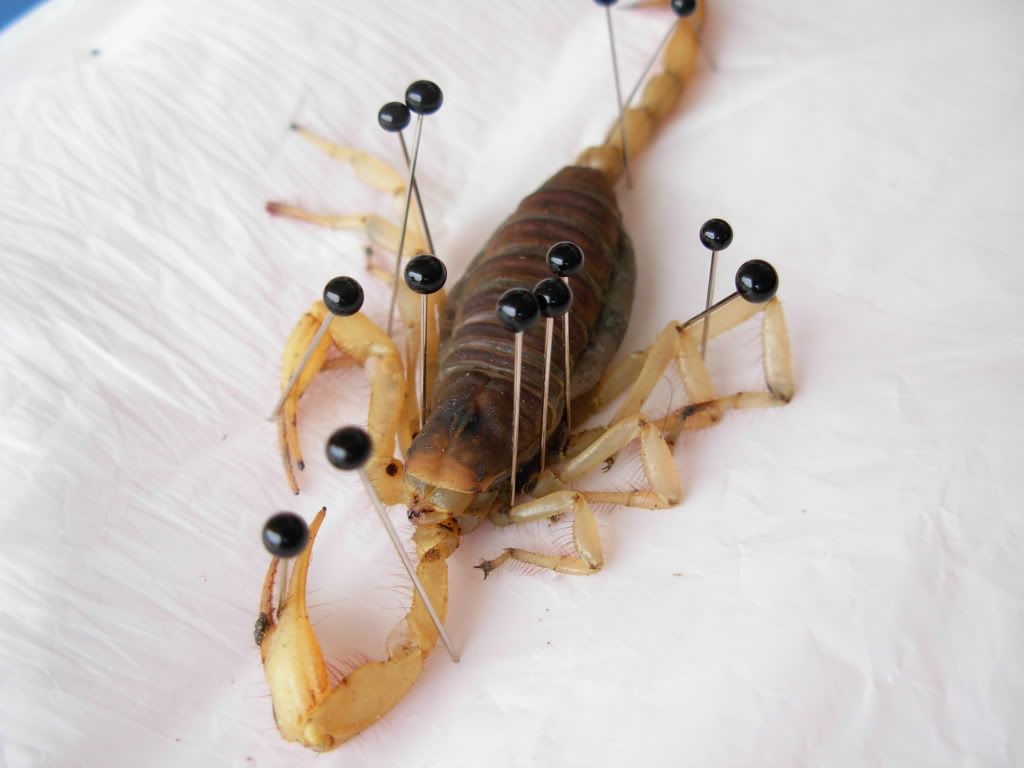
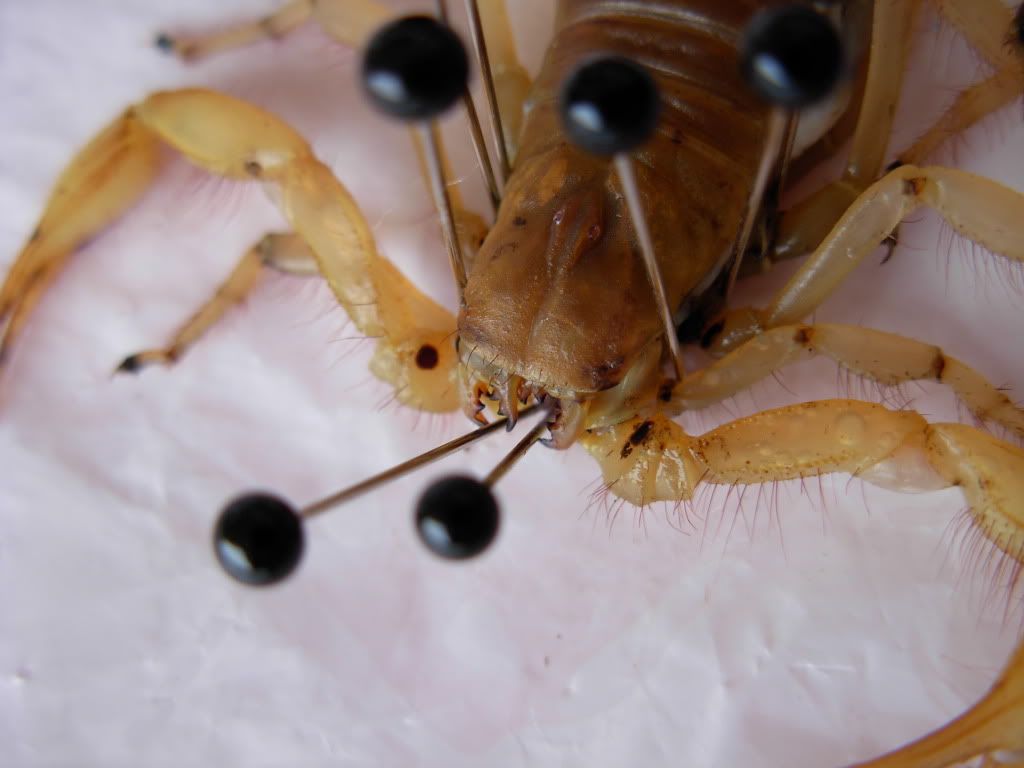
6. I put a pin between each leg to hold it in place for the next stage.
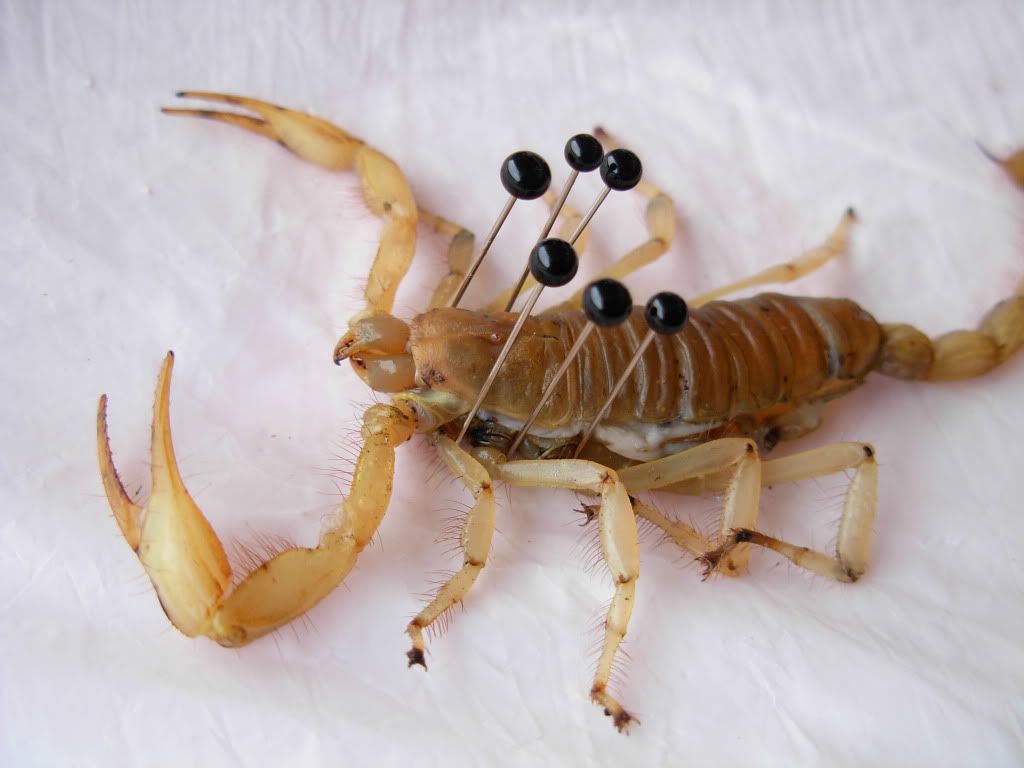
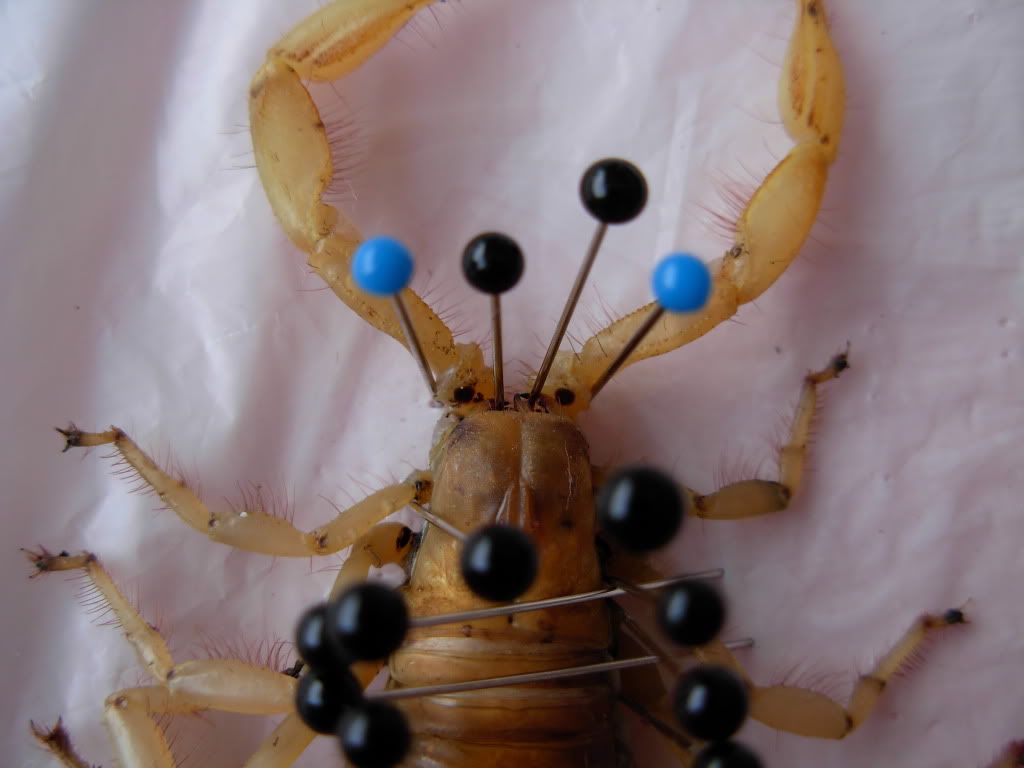
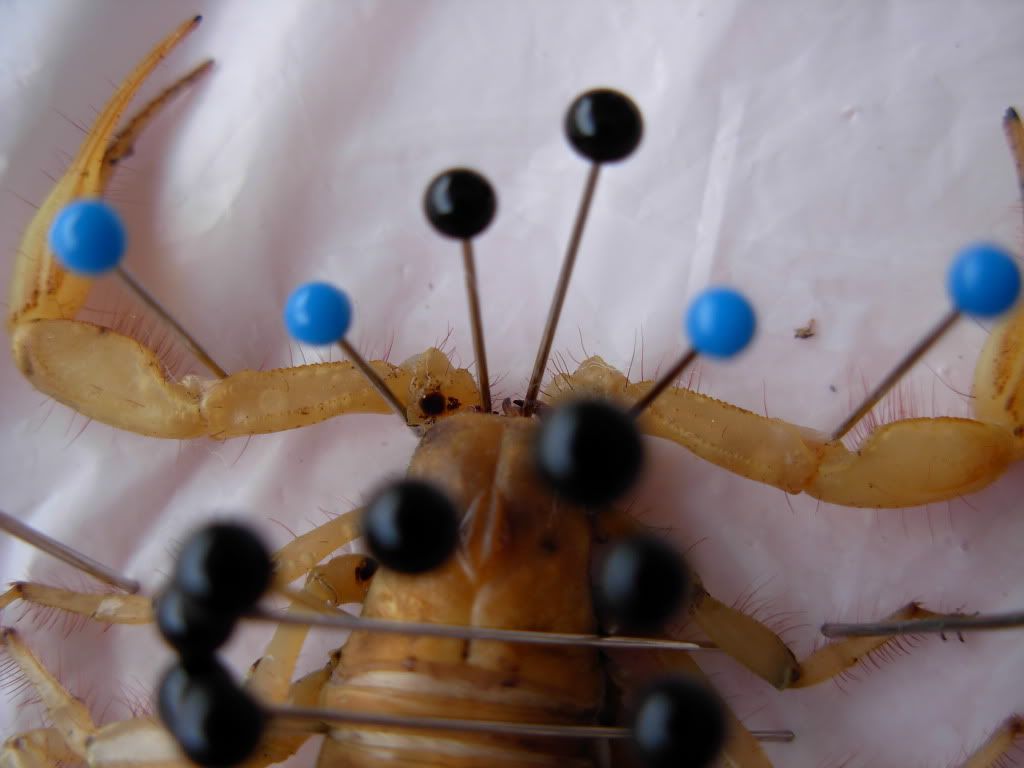
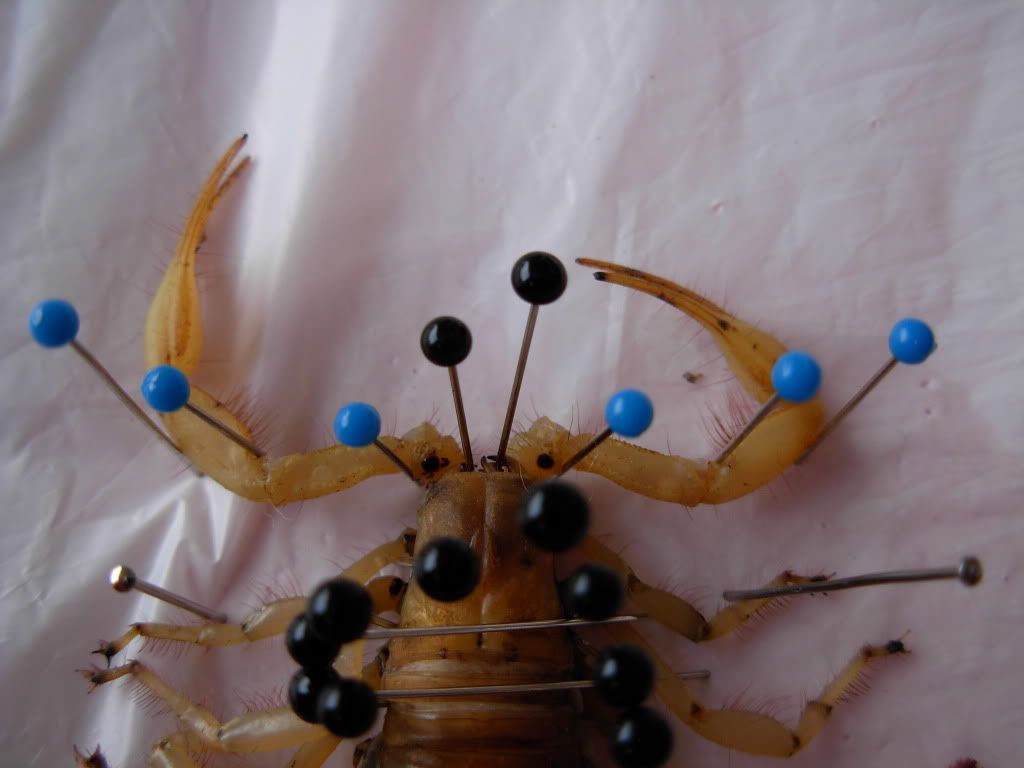
These two on the jaws stop them from coming out too far when you stuff the cotton inside.
More to follow soon...
First off you will need:
-a block of styrofoam (at least 1 in thick)
-lots of pins (varied length helps)
-cotton ball
-crazy glue
-a small scalpel or nail sizzors
-tweezers
-lots of cotton-swabs
-paper towel/rags
-acetone ( in a shallow container)
-patience...
PREP:
First off I pin a plastic bag to the styrofoam to stop it from getting dirty. I have all my tools handy, esp the PT or rags.
Removing the innards:
1. lay the soft/thawed scorp on the foam and use several pins to hold it firmly in place (don't pin through but place a pin on either side of it.
2. I wont show any pics of the next step, but you use a knife to slice open the side.
3. Using tweezers and cotton swabs scoop it all out, Right up into the head. You want to make the inside as clean as possible. I wipe everything off on a PT and rags at this stage.
Here's the gutted scorp:
4. Put your acetone into container now, or it will evaporate. Add the scorp and soak it thoroughly.
5.Shake out all the acetone from inside the scorp and place back onto the pinning foam.
6. I put a pin between each leg to hold it in place for the next stage.
These two on the jaws stop them from coming out too far when you stuff the cotton inside.
More to follow soon...
")