- Joined
- Sep 27, 2002
- Messages
- 1,256
(If this should be in the watering hole, feel free to move it - ultimately the T will be put in, so I picked here)
Well, for those of you who didn't read the earlier thread involving my half-witted plan, I have decied to build a terrarium/aquarium that enables a tarantula to dive into water for fish prey (Hystocrates gigas). Many people have said that these tarantulas do this, and I want to see if I can get one to try it in captivity. Without further ado, I began this evening.
Lets hope the images will link from Angelfire - they have before...
Part One. - Aggravation, swearing, and shopping.
I began my evening with a trip to PetSmart, one of my least favorite places in the world (but the only place I know three blocks away with 7 dollar aquariums) There, I purchased a 10 gallon glass aquarium (a bit big, but the only size that would work with the smallest filter I could find - She'll live in luxury), a 5 gallon size Air pump(since I'm using only a quarter of the tank for fish) and an under the tank filter, designed for 5 and 10 gallon aquariums.
Next, on to Home Depot, where I purchased one sheet of 18"x24" plexiglass, a new drill bit, some aquarium silicon (never heard of it but I guess this would suit my purpose eh?) a set of hinges (for the lid) a plexiglass scoring tool, a steel carpenter's square (since things that flex are things that vex), a trio of C-clamps and of course, batteries for my digital camera.
Here's the loot:

Oh, and of course, some imported beer, which is essential to any thursday night project.
Well, first things first - I need to size everything up. The under-gravel aquarium is made of two halves, that fill up the whole ten gallon aquarium. since I want to only use a fourth of the aquarium for the fish, I'll have to cut one section in half.

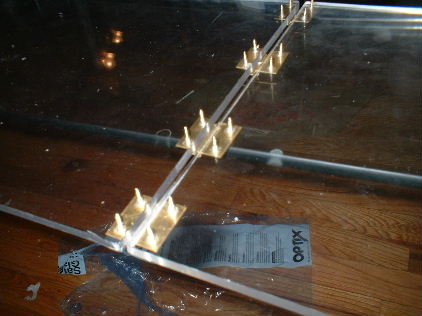
But first, I decided to make the wall dividing the substrate area and the aquarium. There will actually be two, one fixed and one removable, but I still need to find some kind of rail for the removable piece, so I'll start with the fixed piece. I measure it out, and clamp the square onto the plexiglass (despite the look of the picture, I did not clamp it to the glass table). Next, I use the scoring tool to scratch a very deep groove where the plexiglass should break.

OK, so far so good. I've scored my plexiglass up pretty good, and it should snap like a twig, right?

Not even close.
So, now I'm angry at this inferior method of plastic cutting. Time to go into the closet and break out the big guns:

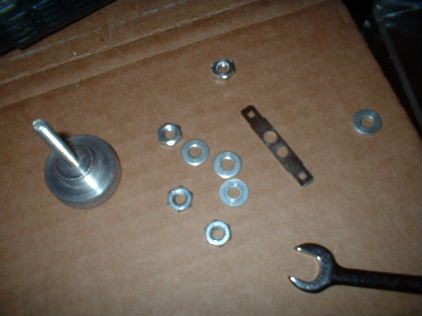
I was given this old dremel tool with a sears sticker on it about 9 years ago for a christmas present. It is the oldest tool I currently posess, and if it can't do it, nothing can. Having used it on plexiglass before, and made big messes in the past, the only thing I've found that can cut a straight line and not melt the plexiglass is a sanding disc, beleive it or not. They usually cost about 2 dollars for 25 and the arbor for them comes with most bit-sets for dremel tools. So, I then cut my piece with the dremel tool, which worked smooth as silk. Next, I cut the under-gravel filter in half (I was really enjoying the new-found efficiency of my old tool) and opened a beer, to celebrate finally making some progress. (As well as give the stench of molten plastic time to dissapate):

Ah, the sweet smell of success.
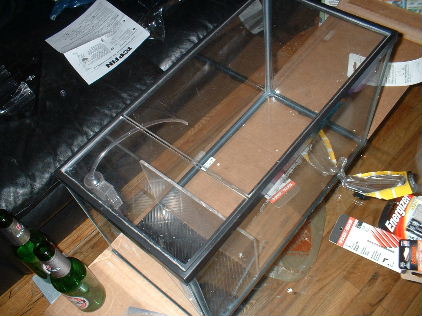
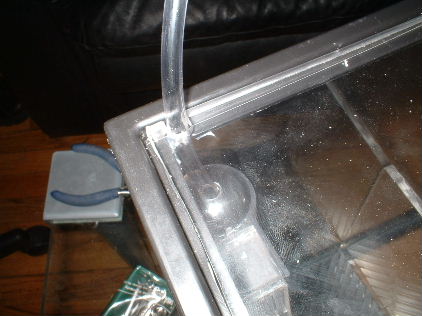
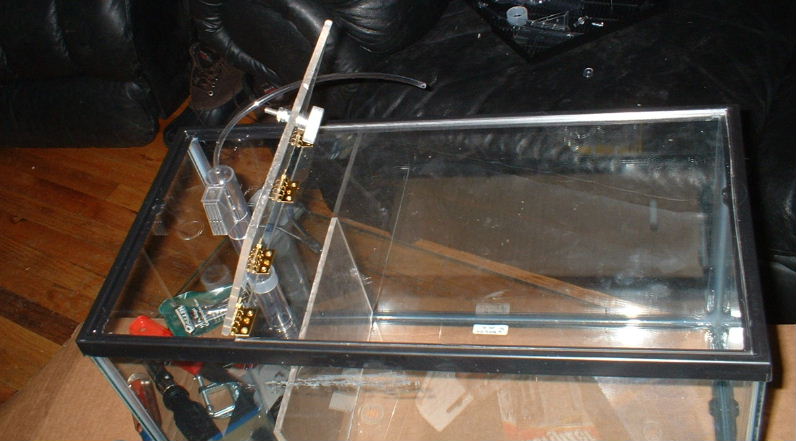
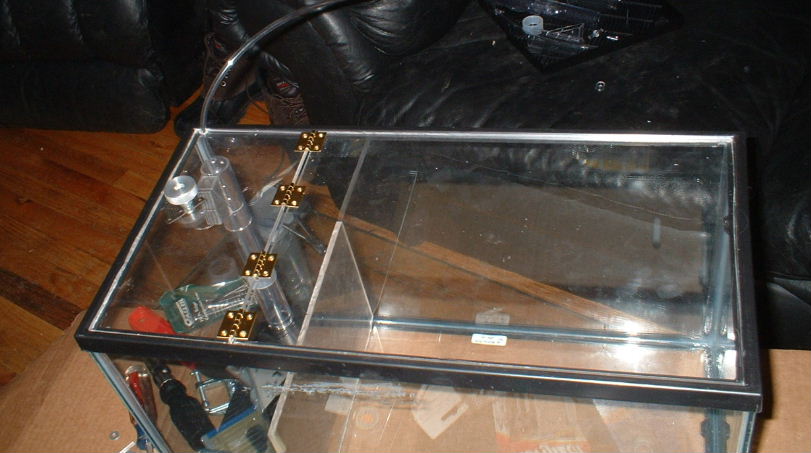
Anyways, next I fit everything into place, and assembled the filter, to make sure I had height clearance and see how wide the hose would be to cut out a slot in the lid.

One thing I should mention, is that in doing this I seem to have forgotten about the silicon on the bottom joints of the tank. Rather than leave a big gap along the bottom edge to only have to silicon closed later, I decided to cut some 45 degree corners on the piece:

Now, all that is needed on that piece are a few thin lines of silicon to hold it in place.
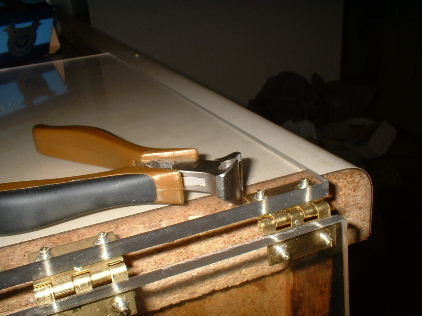
I decided to break for the night when my next door neighbor came to complain about the noise from me cutting the plexiglass with my dremel tool. In the next few days, I'll be cutting the lid (hinged so that I can maintain only the aquarium if I wish to) and devising the removable portion of the divider (this will be so that upon settling in the H. gigas doesn't fill up my pond with dirt, and also so I can freely maintain the water area without having to worry about a mean african burrower giving me fang.) Also, I've yet to silicon the divider in place, since I want to do that portion all at once. I still need an H. gigas, too, but that should be taken care of by weeks end.
More to come,
Bill
Well, for those of you who didn't read the earlier thread involving my half-witted plan, I have decied to build a terrarium/aquarium that enables a tarantula to dive into water for fish prey (Hystocrates gigas). Many people have said that these tarantulas do this, and I want to see if I can get one to try it in captivity. Without further ado, I began this evening.
Lets hope the images will link from Angelfire - they have before...
Part One. - Aggravation, swearing, and shopping.
I began my evening with a trip to PetSmart, one of my least favorite places in the world (but the only place I know three blocks away with 7 dollar aquariums) There, I purchased a 10 gallon glass aquarium (a bit big, but the only size that would work with the smallest filter I could find - She'll live in luxury), a 5 gallon size Air pump(since I'm using only a quarter of the tank for fish) and an under the tank filter, designed for 5 and 10 gallon aquariums.
Next, on to Home Depot, where I purchased one sheet of 18"x24" plexiglass, a new drill bit, some aquarium silicon (never heard of it but I guess this would suit my purpose eh?) a set of hinges (for the lid) a plexiglass scoring tool, a steel carpenter's square (since things that flex are things that vex), a trio of C-clamps and of course, batteries for my digital camera.
Here's the loot:

Oh, and of course, some imported beer, which is essential to any thursday night project.
Well, first things first - I need to size everything up. The under-gravel aquarium is made of two halves, that fill up the whole ten gallon aquarium. since I want to only use a fourth of the aquarium for the fish, I'll have to cut one section in half.

But first, I decided to make the wall dividing the substrate area and the aquarium. There will actually be two, one fixed and one removable, but I still need to find some kind of rail for the removable piece, so I'll start with the fixed piece. I measure it out, and clamp the square onto the plexiglass (despite the look of the picture, I did not clamp it to the glass table). Next, I use the scoring tool to scratch a very deep groove where the plexiglass should break.

OK, so far so good. I've scored my plexiglass up pretty good, and it should snap like a twig, right?

Not even close.
So, now I'm angry at this inferior method of plastic cutting. Time to go into the closet and break out the big guns:

I was given this old dremel tool with a sears sticker on it about 9 years ago for a christmas present. It is the oldest tool I currently posess, and if it can't do it, nothing can. Having used it on plexiglass before, and made big messes in the past, the only thing I've found that can cut a straight line and not melt the plexiglass is a sanding disc, beleive it or not. They usually cost about 2 dollars for 25 and the arbor for them comes with most bit-sets for dremel tools. So, I then cut my piece with the dremel tool, which worked smooth as silk. Next, I cut the under-gravel filter in half (I was really enjoying the new-found efficiency of my old tool) and opened a beer, to celebrate finally making some progress. (As well as give the stench of molten plastic time to dissapate):

Ah, the sweet smell of success.
Anyways, next I fit everything into place, and assembled the filter, to make sure I had height clearance and see how wide the hose would be to cut out a slot in the lid.

One thing I should mention, is that in doing this I seem to have forgotten about the silicon on the bottom joints of the tank. Rather than leave a big gap along the bottom edge to only have to silicon closed later, I decided to cut some 45 degree corners on the piece:

Now, all that is needed on that piece are a few thin lines of silicon to hold it in place.
I decided to break for the night when my next door neighbor came to complain about the noise from me cutting the plexiglass with my dremel tool. In the next few days, I'll be cutting the lid (hinged so that I can maintain only the aquarium if I wish to) and devising the removable portion of the divider (this will be so that upon settling in the H. gigas doesn't fill up my pond with dirt, and also so I can freely maintain the water area without having to worry about a mean african burrower giving me fang.) Also, I've yet to silicon the divider in place, since I want to do that portion all at once. I still need an H. gigas, too, but that should be taken care of by weeks end.
More to come,
Bill
Last edited:

